

Almost four months ago, I completed what is to date my most ambitious sewing project: a pair of circa-1970s wide wale khaki corduroy bell-bottom high waisted pants.
Ever since then, I’ve been known as the guy who made his own pants. Never mind the curtains, pillowcases and Halloween costumes I’ve sewn for myself; the pants were what people latched onto.
I can’t say I blame them, though. I mean, look at these things:

Showing off my pants on my rooftop (Photo by Austin Duffie)
I couldn’t be happier with how they turned out.
I suppose what bothers me the most about the reactions I’ve received is the overwhelming idea that what I did was a novelty or some bold undertaking.
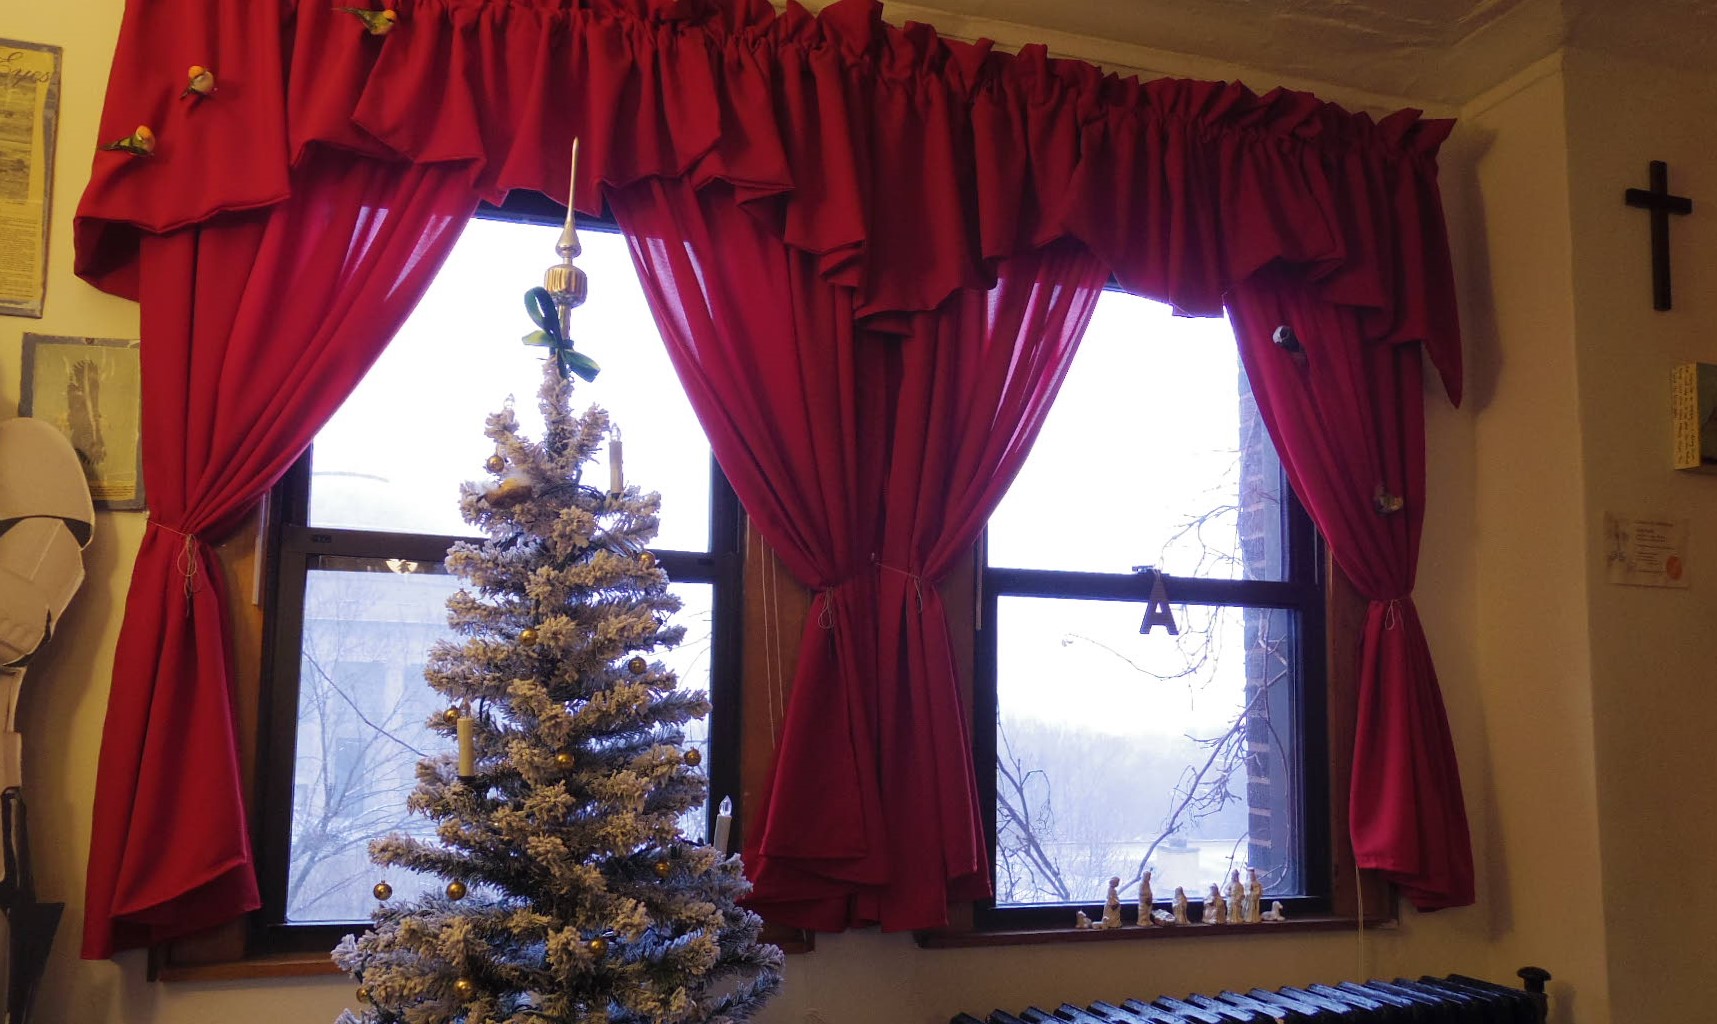
A set of curtains I made for my apartment (Photo by Justin Myers, 14 East)
To me, making my own clothing and home textile décor is nothing more than a standard responsibility of life — nothing more or less than the act of cleaning one’s bathroom.
Then again, I can’t say that I grew up like the other kids at DePaul.
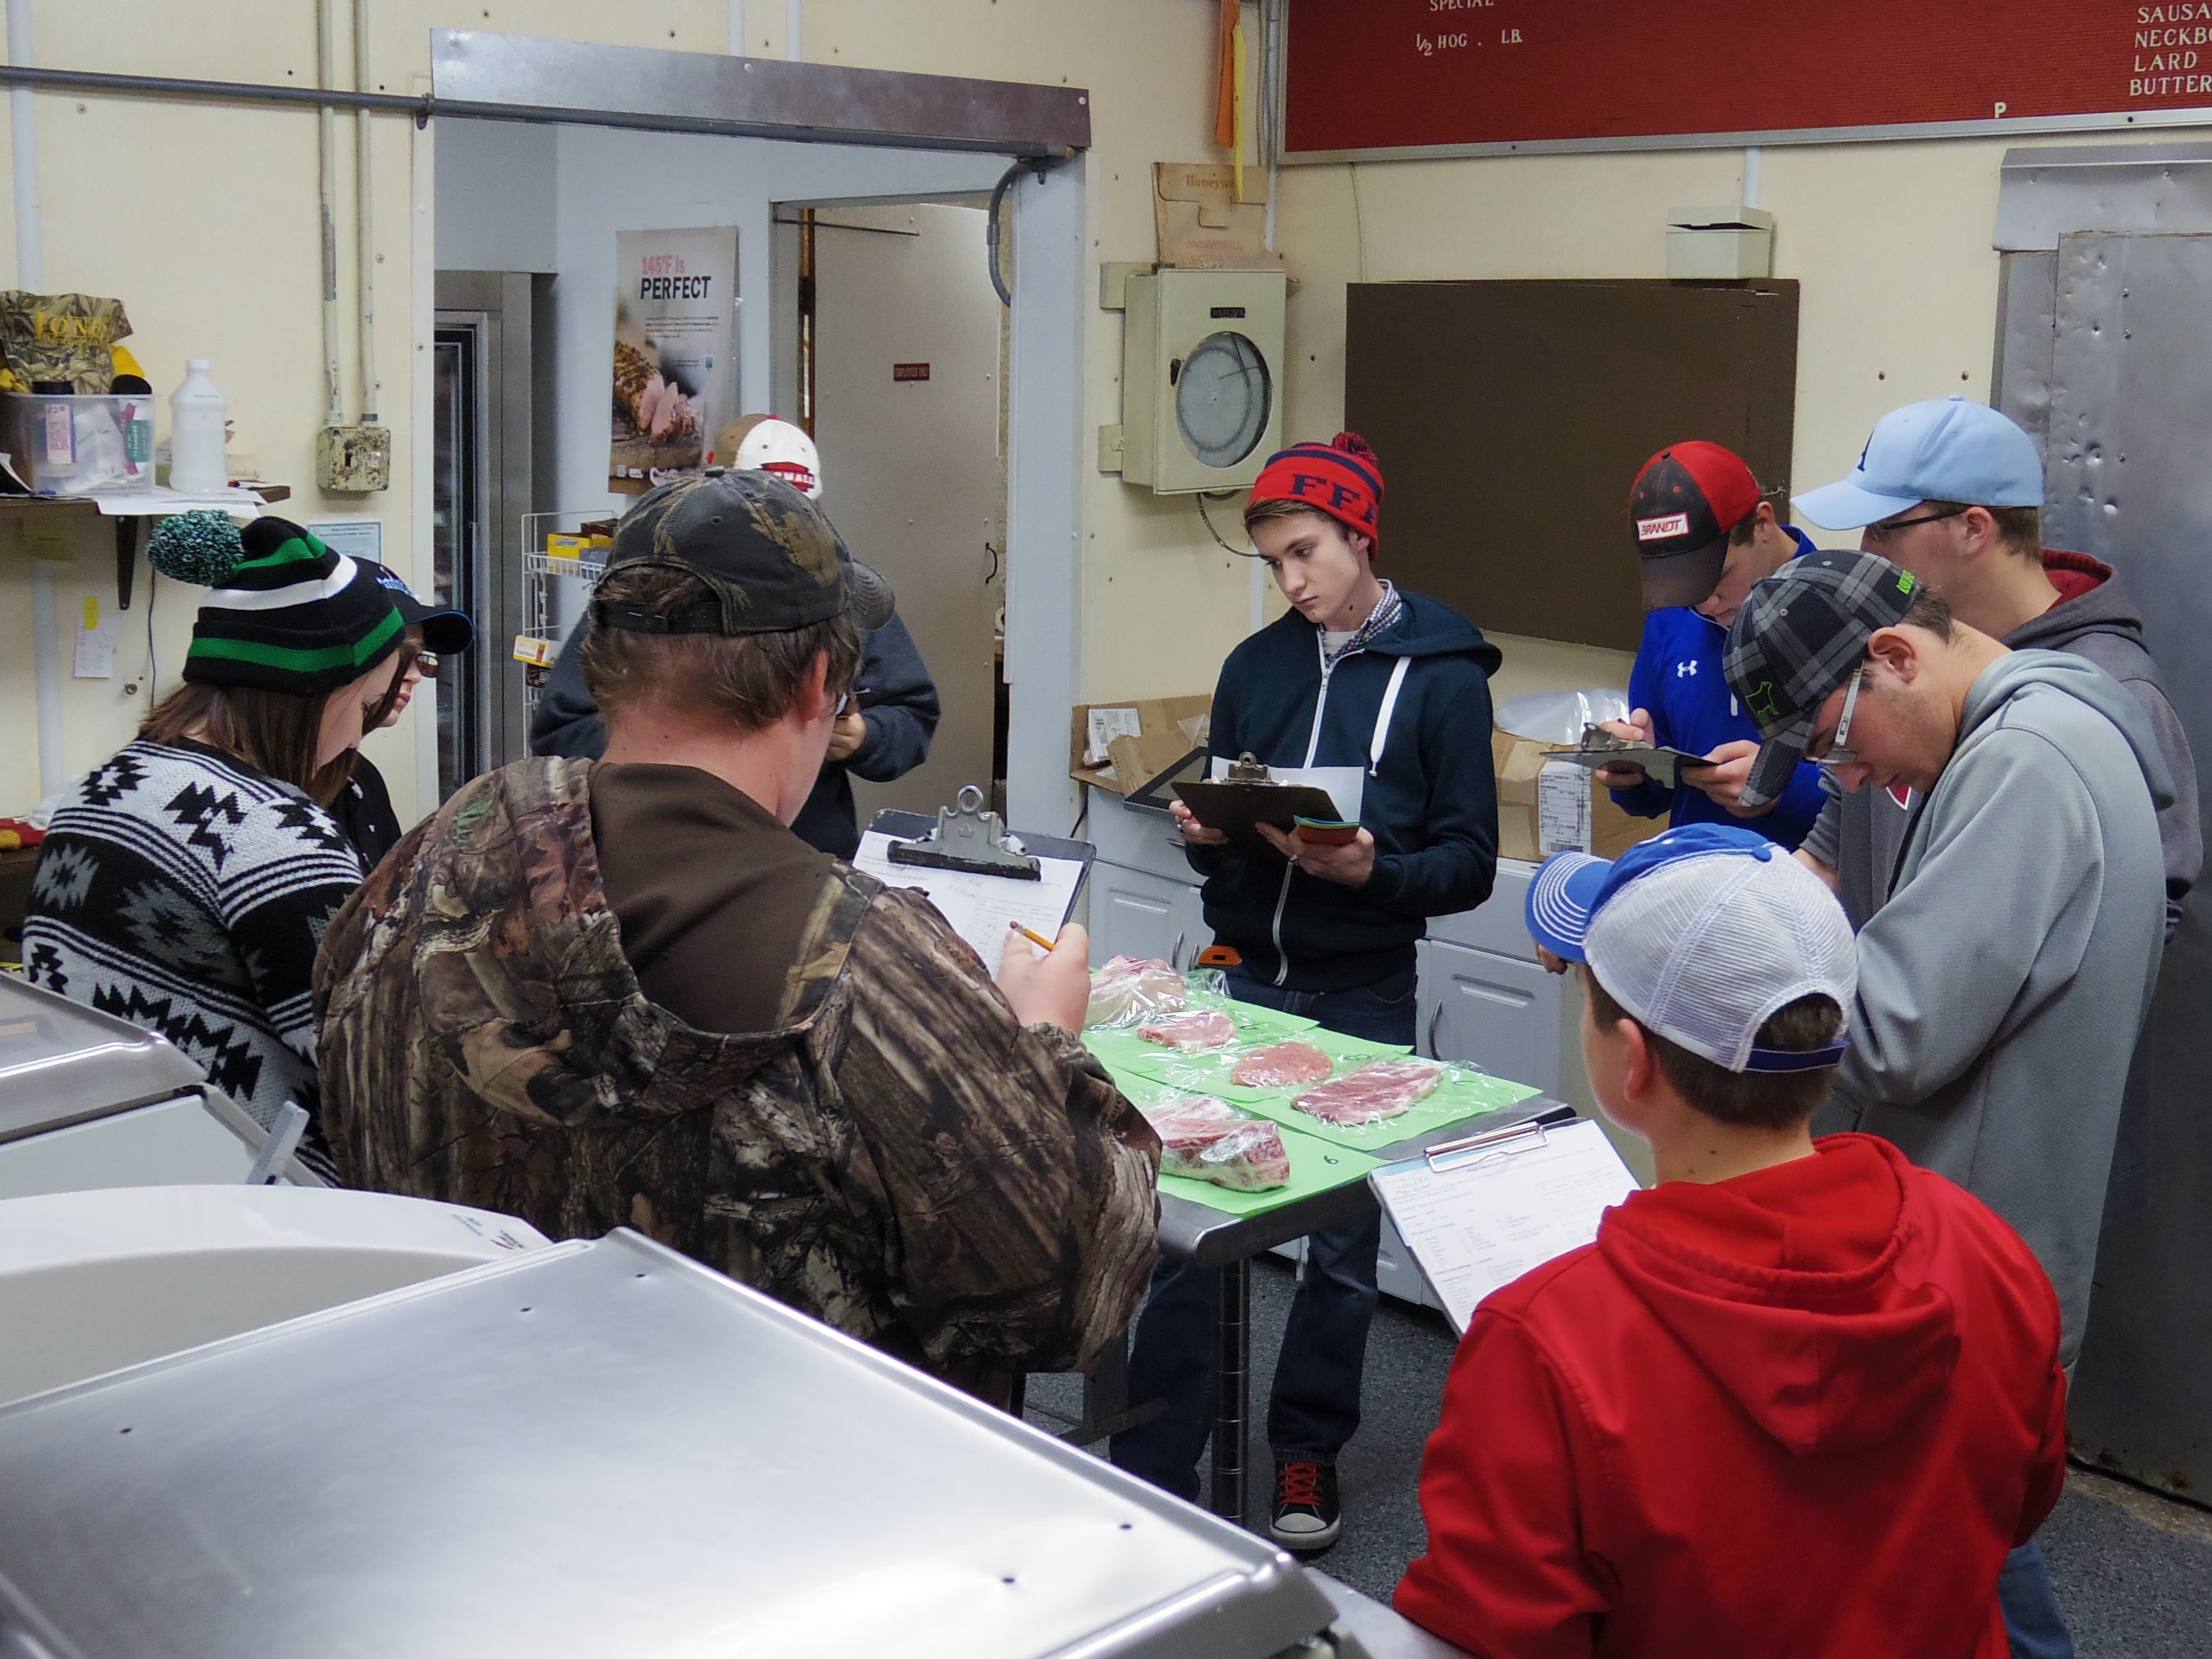
High school me (center) identifying cuts of pork and beef at my section’s FFA meat judging competition (Photo courtesy of Justin Myers, 14 East)
Hailing from the northernmost edge of the illustrious Lincoln-lusting town of Springfield, Illinois, my childhood took place surrounded by cornfields, decaying wooden barns and herds upon herds of cattle. You didn’t look for the great turrets of the Willis Tower to tell you when you were nearing town. You looked for the cone-capped cylinders of silver silos.
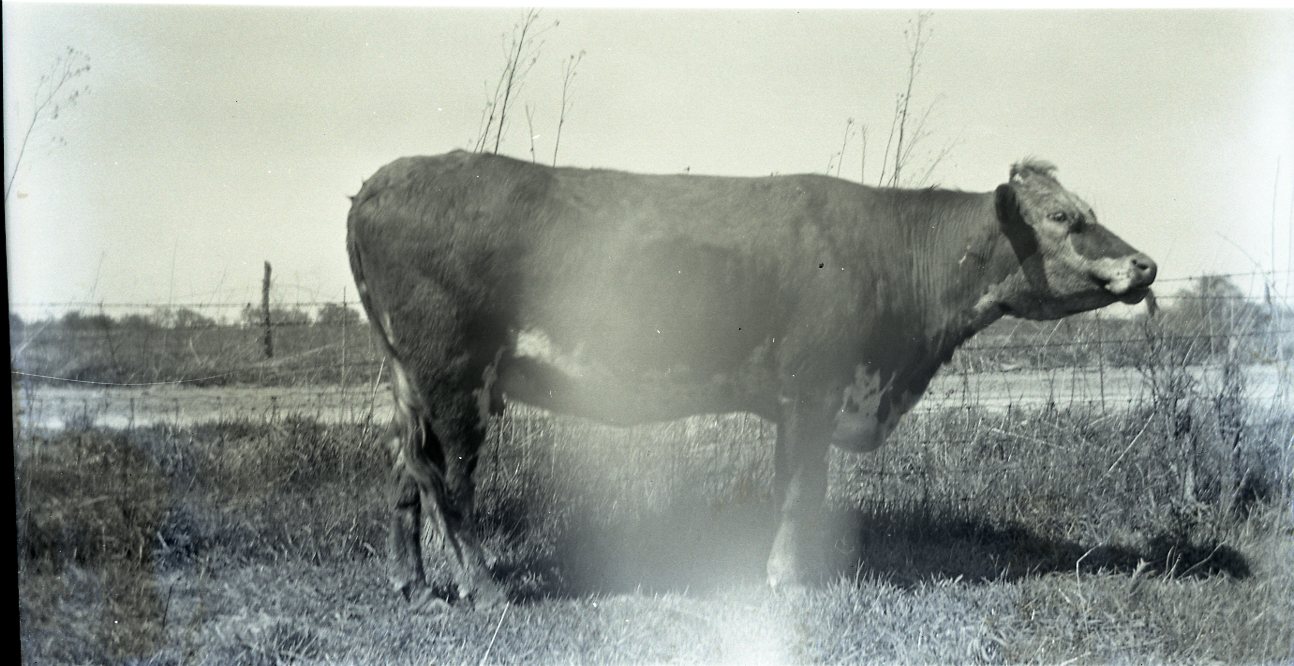
A cow in front of a field (Photo by Anita Lockyer)
Don’t get me wrong. Springfield is a metropolitan city by all rural Central Illinoisan standards; however, I wasn’t socialized there.

The skyline of Springfield, Illinois (Photo by Justin Myers, 14 East)
I grew up going into town there, had family there and worked there, but I went to school just north of Springfield in Athens (pronounced “AY-thenz”) and regularly visited my mom’s family down by Carlinville. It was in those time-forgotten places where my ideas of social structures and responsibilities mostly came from — including my views on sewing.
My first exposure to the art of sewing came from my paternal grandmother, my grandma Betty.
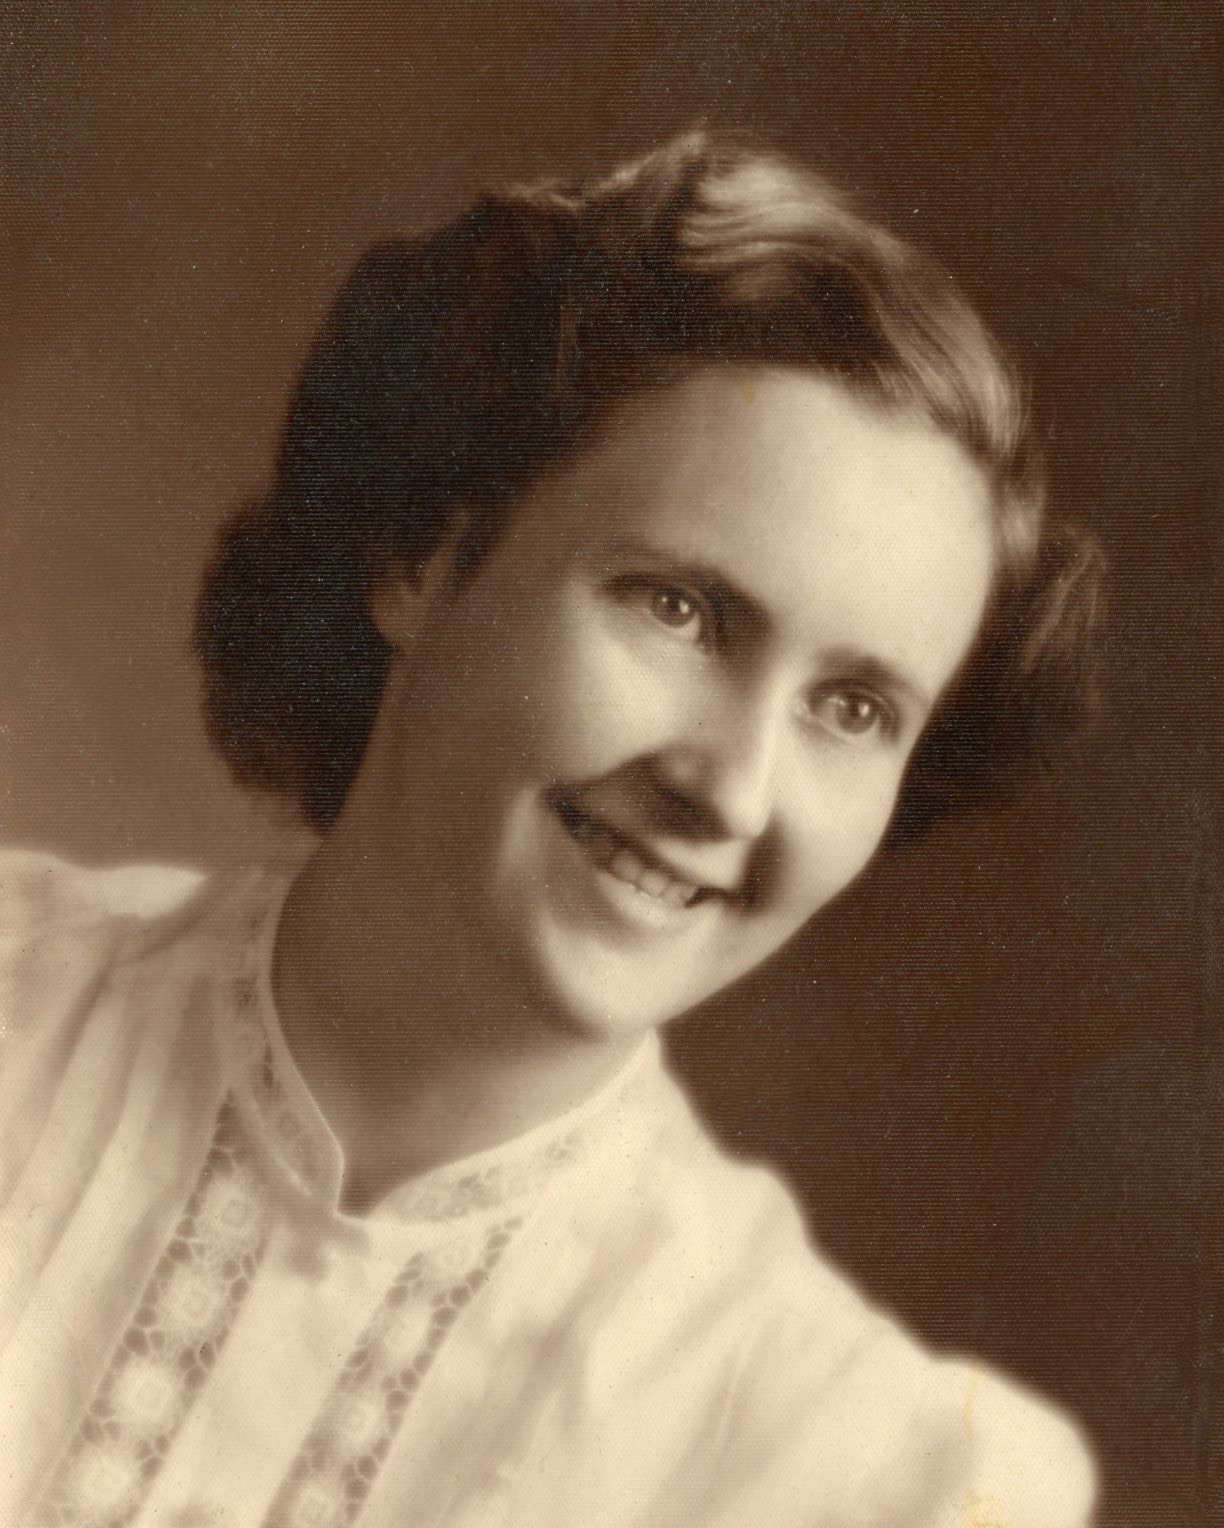
My grandma’s senior photo (Photo courtesy of Betty Myers)
Born in 1931 upon the coattails of the Great Depression, she was raised by the son of an Ohioan Mennonite and the daughter of a hill-dwelling Kentuckian family. It was a household founded upon values of self-sufficiency and hard work.
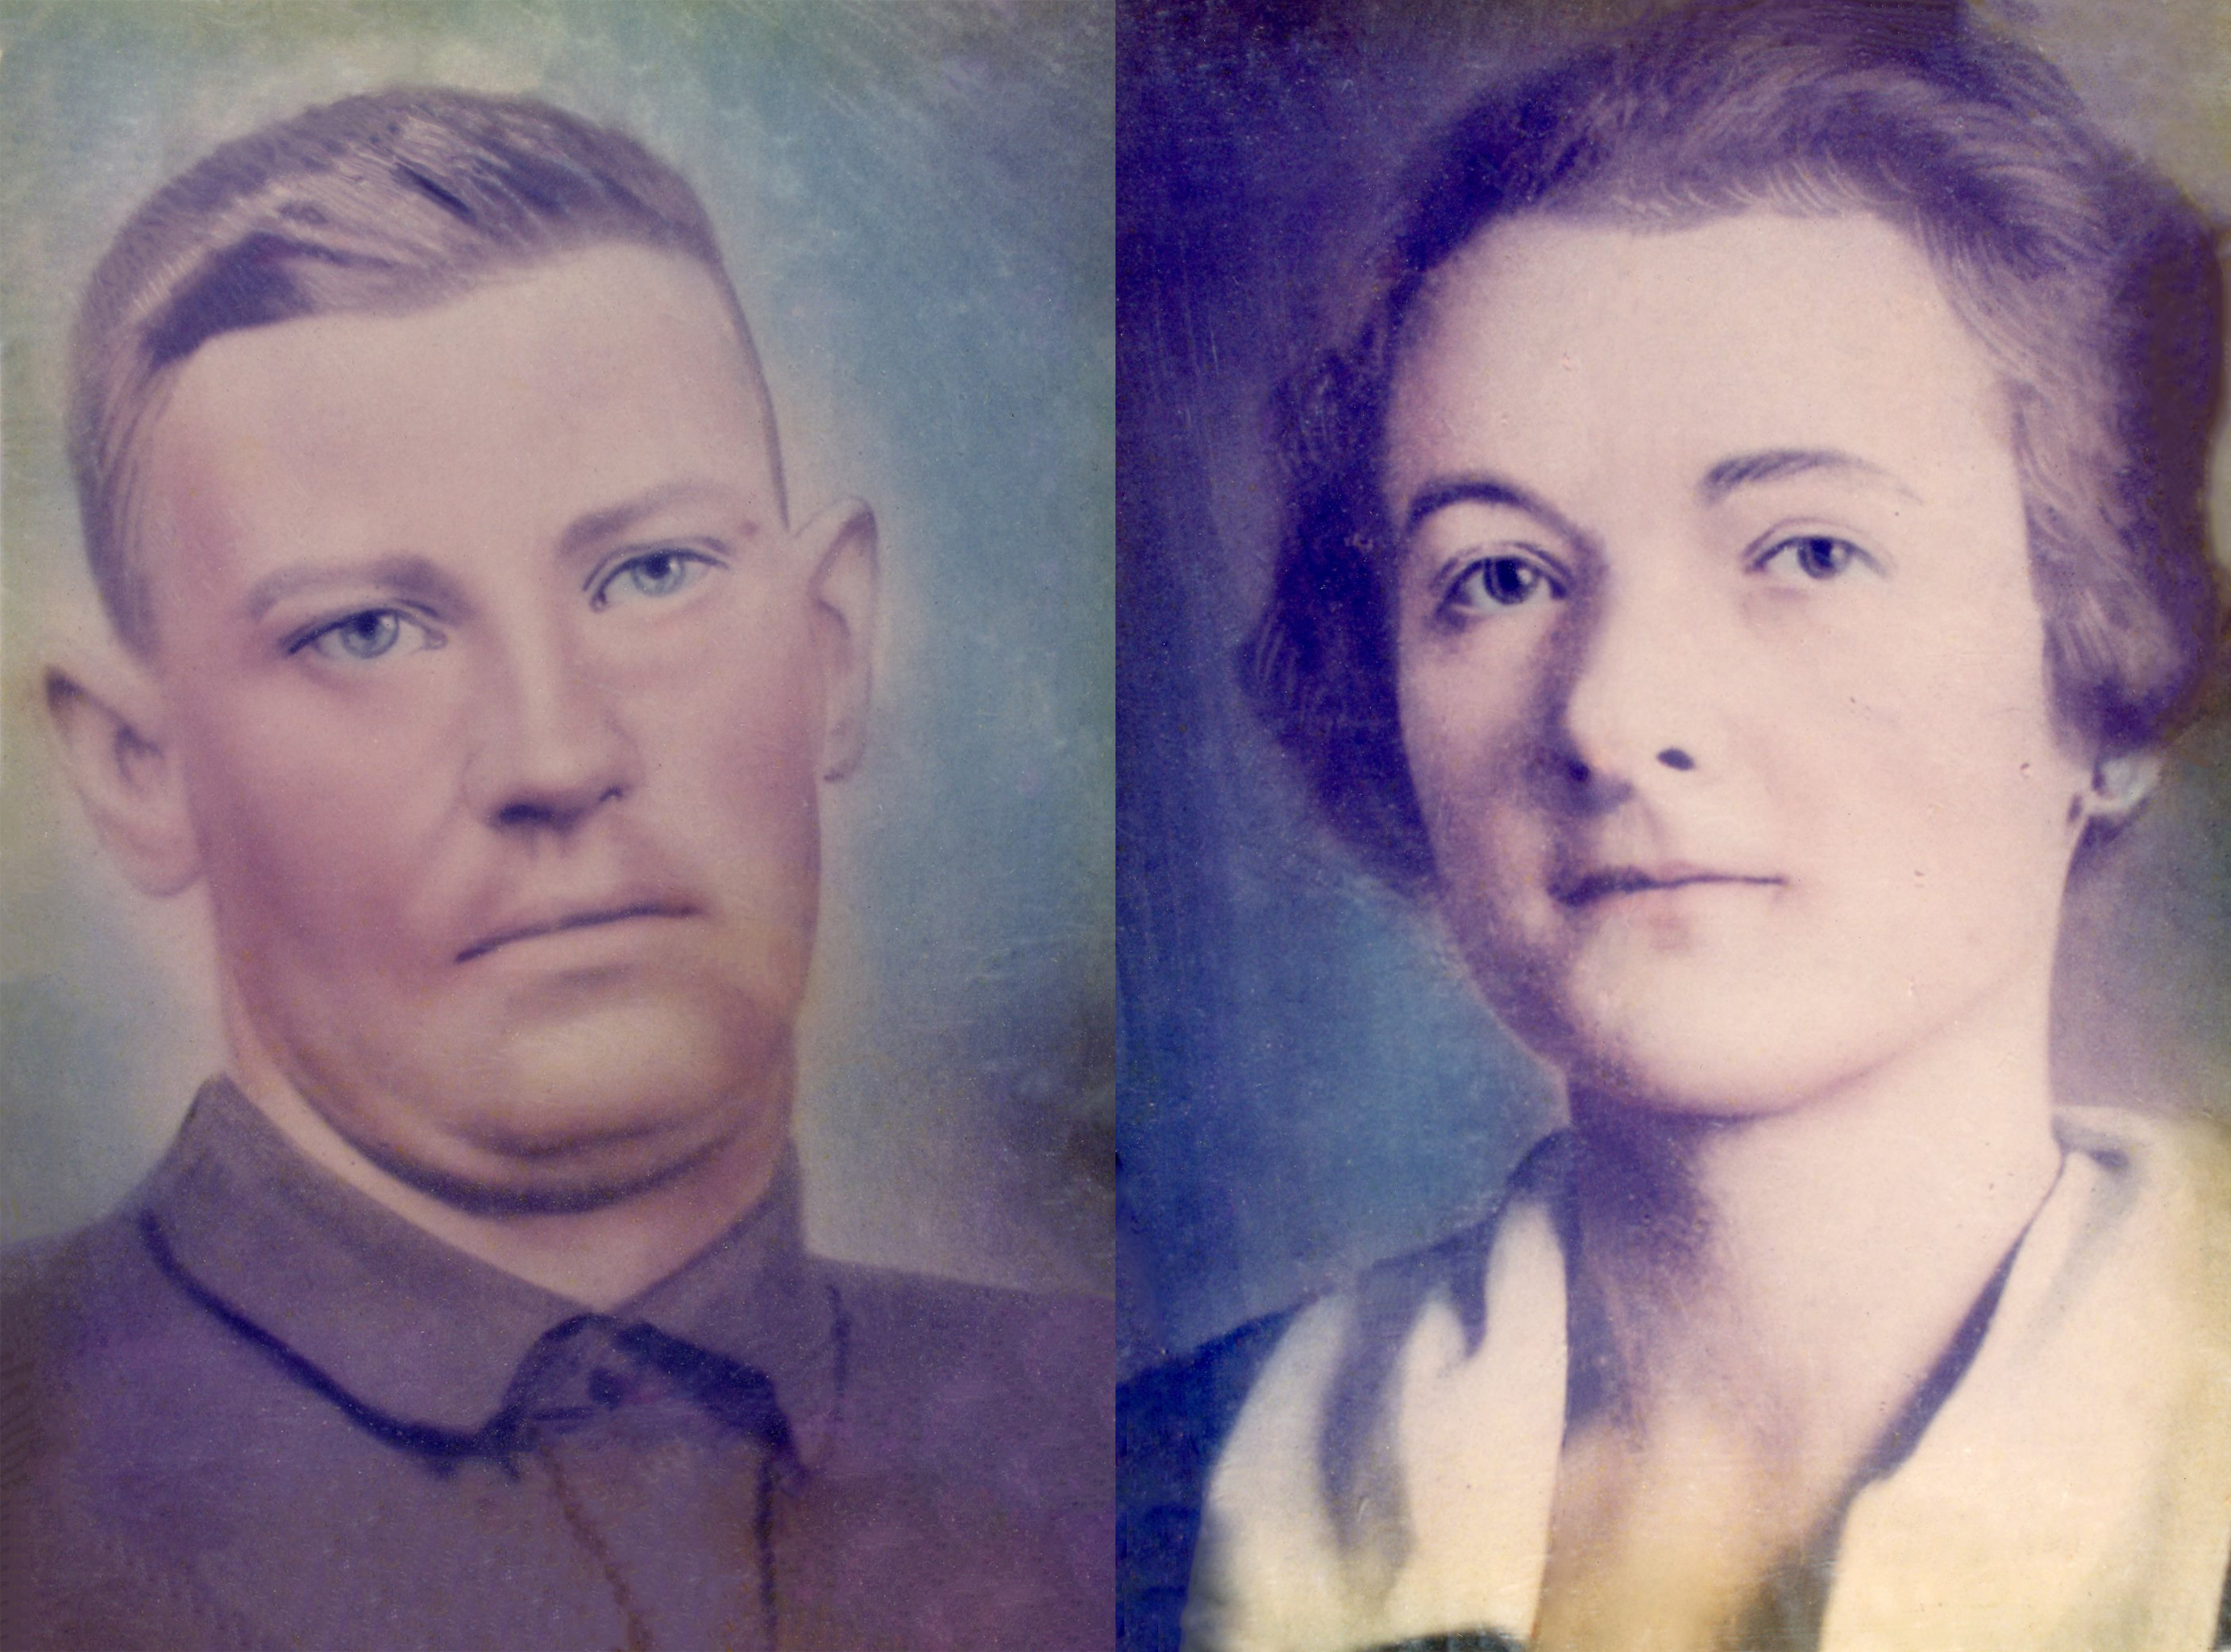
My great grandparents in 1918 (Photo courtesy of Betty Myers)
She worked for years as a trained tailor, making dozens of garments for her clients and children. Below is an example of her work — a set of pantsuits she made for my dad, two uncles and aunt (all of whom are pictured below).

A set of pantsuits my grandma made (Photo courtesy of Betty Myers)
Though, I can’t say that my grandma Betty was the most instrumental in forming my views on sewing as a standard skill of life. That credit goes to my maternal grandmother, my grandma Lucille.
I assume most of you have seen the first few scenes of The Wizard of Oz where sepia-washed Dorothy is milling about on her family farm. For the most part, this was the childhood of my grandma Lucille.
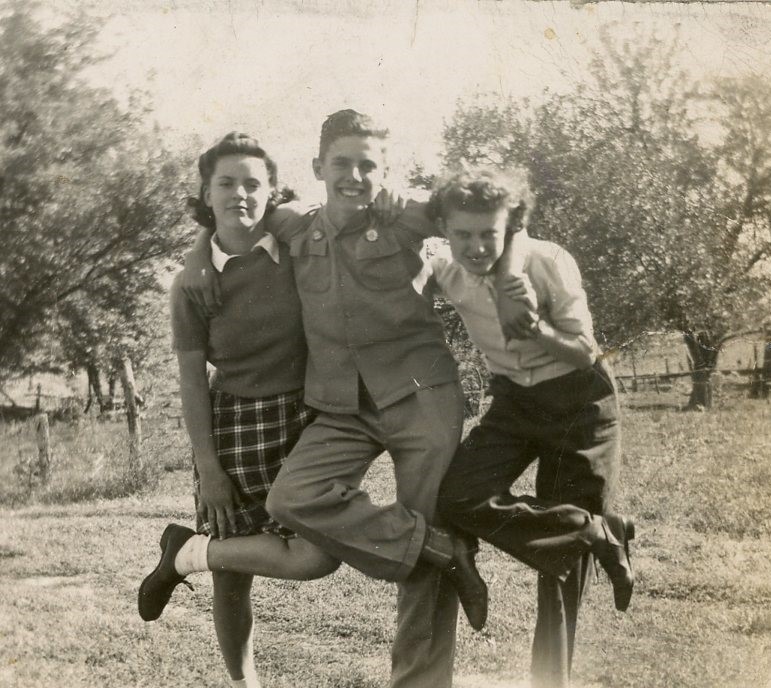
My grandma Lucille at (right) (Photo by Anita Lockyer)
Born in 1926, she attended a one-room schoolhouse, drove a Model T Ford for her first driving test and was your quintessential Dorothy-esque farmer girl finding daily joys in the simplicities of American agricultural life.
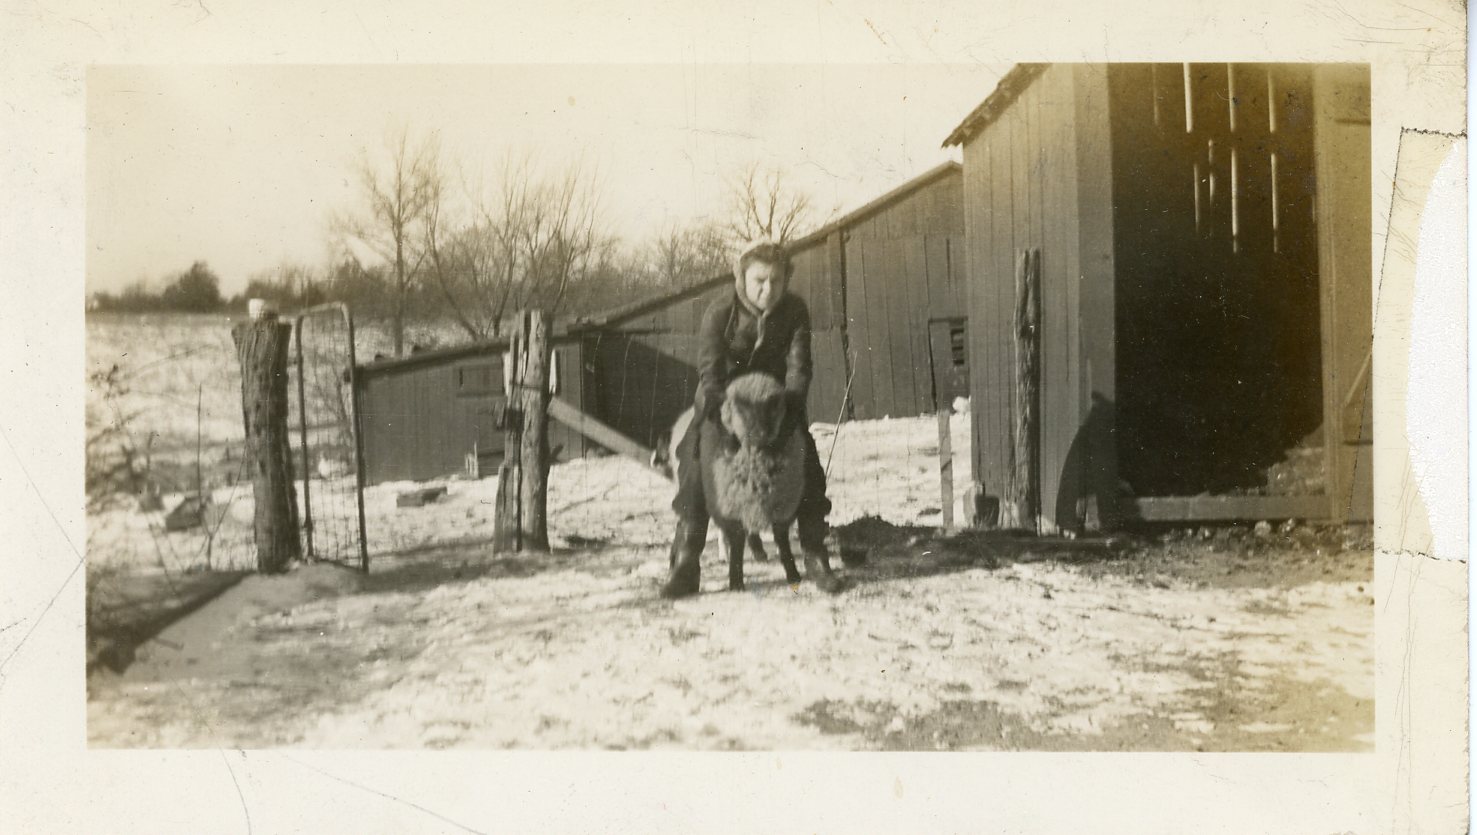
My grandma Lucille at age 16 with her pet lamb “Spotty” (Photo by Anita Lockyer)
She was raised by her great-aunt Anita Lockyer, who kept her in touch with our family’s Scots-Irish history as homesteading immigrants by maintaining contact with that side of our family.
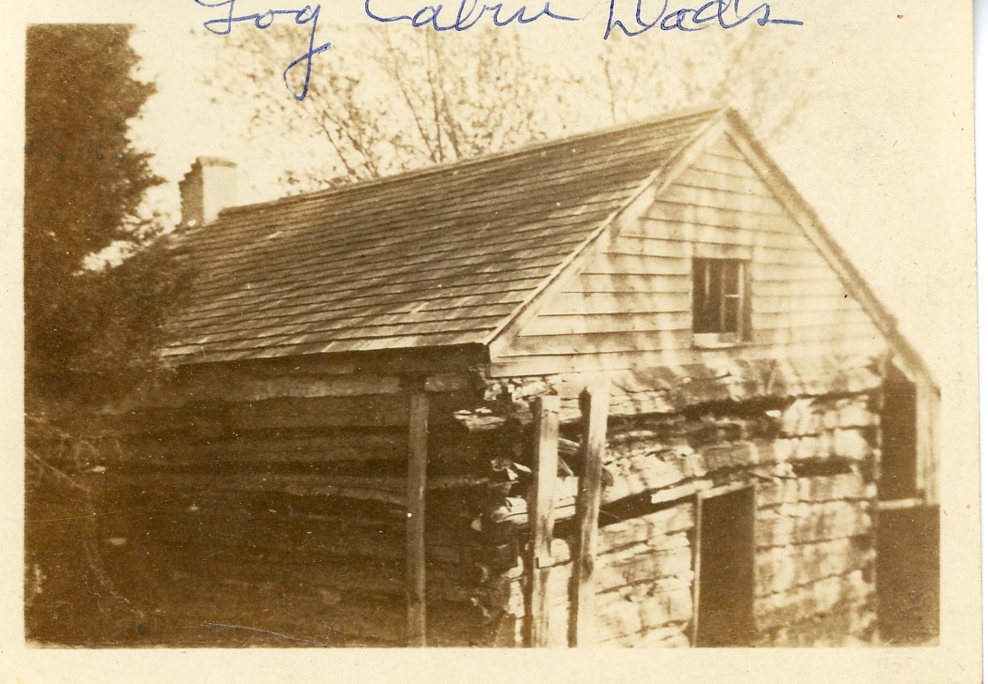
One of my family’s first dwellings in America (Photo by Anita Lockyer)
While she was still alive, a visit to visit my grandma Lucille and grandpa Carl meant a bombardment of all my grandma’s sewing and needlework expertise. From the floor to ceiling lace rendition of the Lord’s Prayer to the crocheted ottoman cover and more, she devoted her life to the craft.
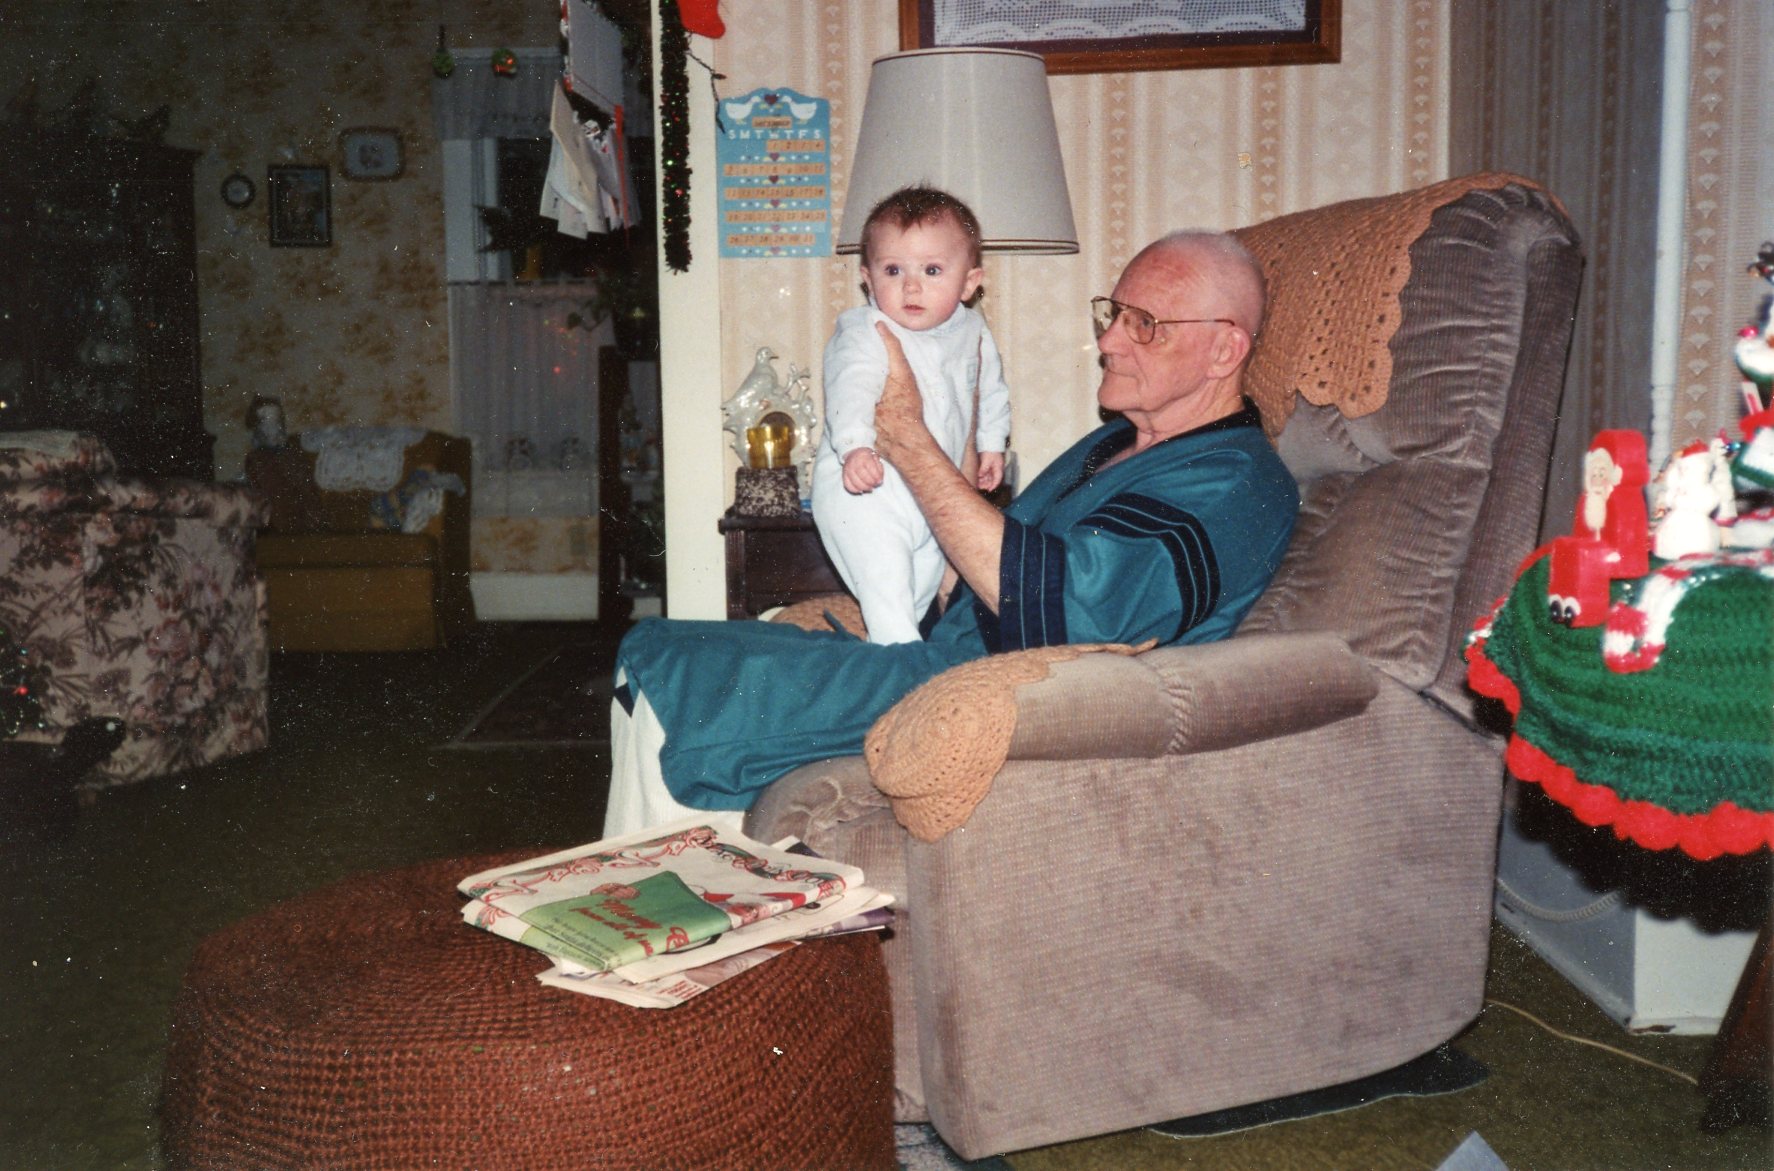
My grandma Lucille’s and grandpa Carl’s house — everything crocheted was my grandma’s doing (Photo courtesy of Justin Myers, 14 East)
My grandma Lucille passed on her expertise to my mother, inspiring the creation of more than one Halloween costume and set of curtains. My grandma Betty, who frequently babysat me during my childhood, was the first to teach me how to operate a sewing machine and crochet.
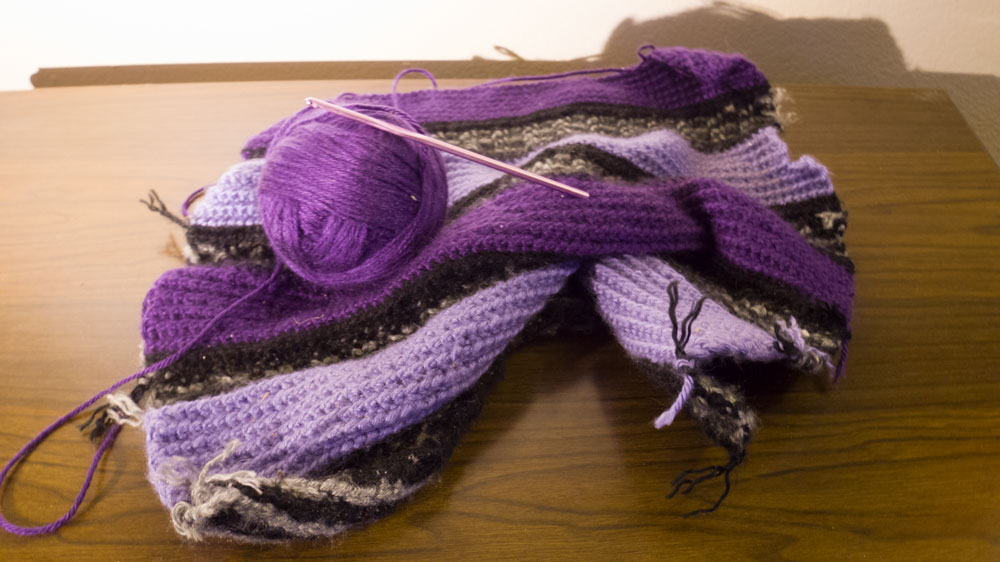
A crochet project of mine (Photo by Justin Myers, 14 East)
I thus received a familial expectation –– resulting from a rich treasure trove of textile and fiber creations and practical skill acquisition –– to one day pick up the craft myself, and I did. Upon securing my first apartment, I set about creating pillowcases and placemats to decorate the place once I moved in.
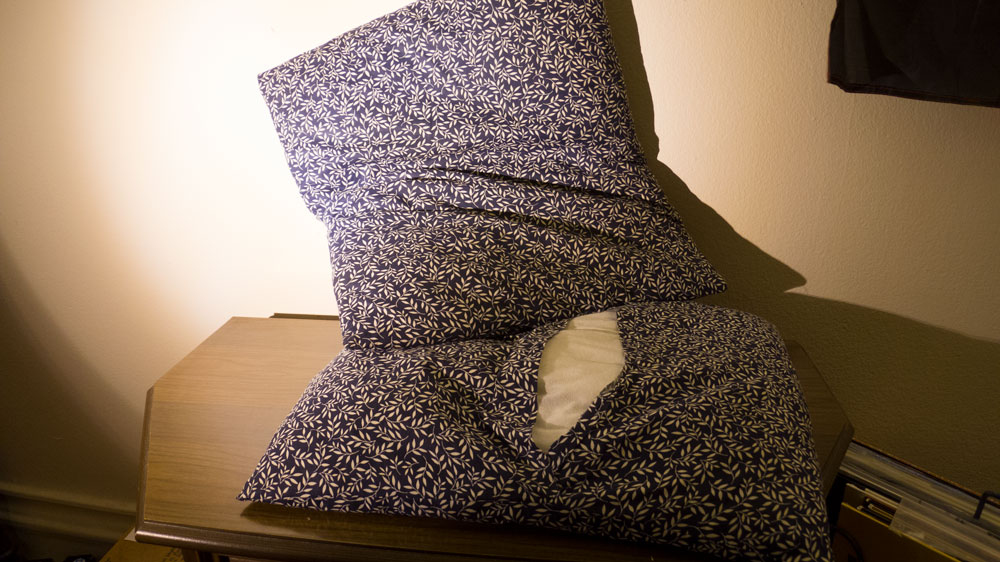
Pillowcases I made for my apartment (Photo by Justin Myers, 14 East)
After moving in, I took a break. The first reason for this was that I was busy getting settled into college, a new home in Chicago and my new role as a fourth and fifth grade Sunday school teacher.
However, the push to create more and learn more did not go away. I taught myself knitting for the first time and began a still incomplete attempt at a fair isle sweater.
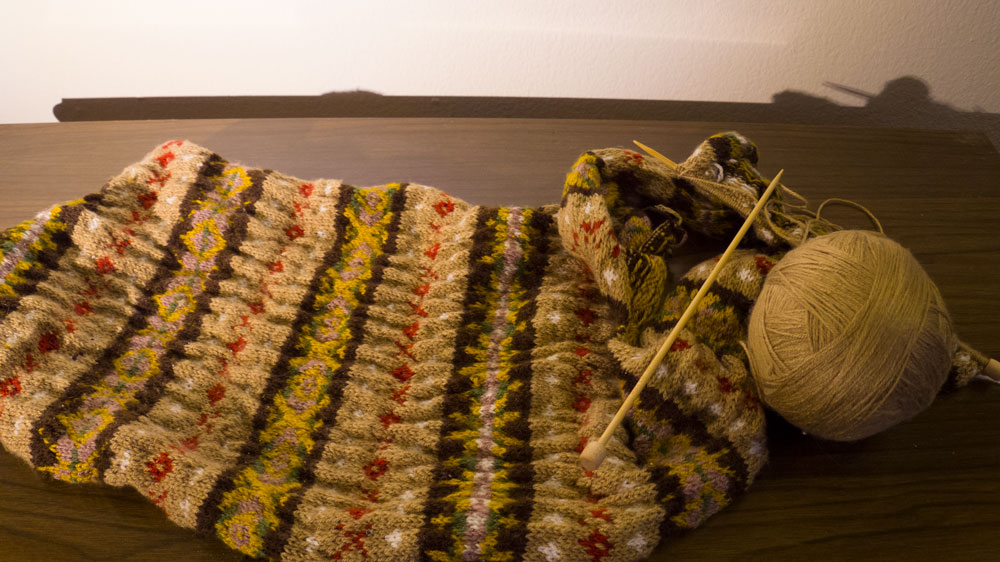
My uncompleted attempt at fair isle knitting (Photo by Justin Myers, 14 East)
I continued needlework projects until I finally mustered up the courage to ask my grandma for her sewing machine. Now in her later years, my grandma no longer sews and was happy to gift it to me.
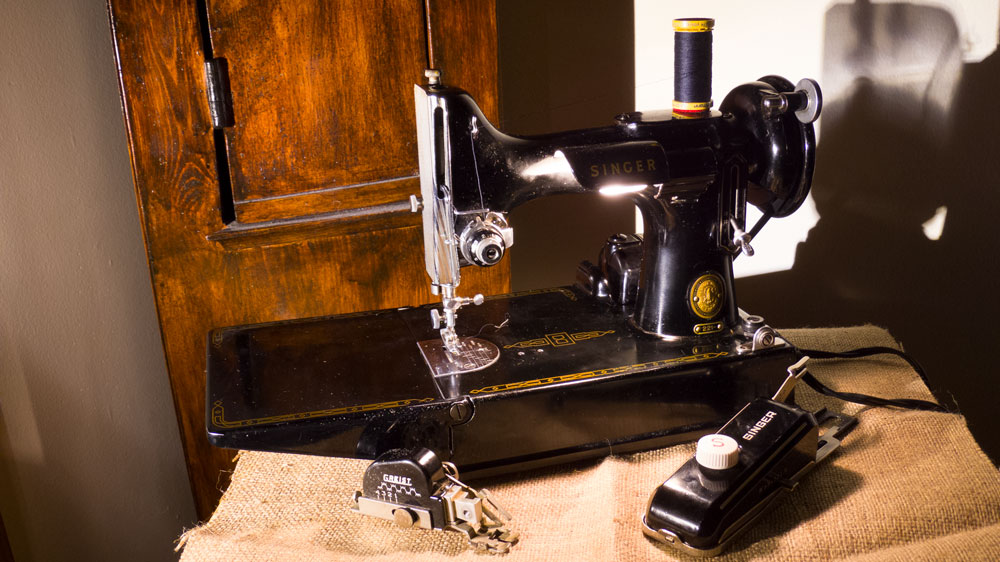
The sewing machine given to me by my grandma with zigzag stitch and buttonholer attachments (Photo by Justin Myers)
Though from the late-1950s, it only required a simple tune-up to get it back in operable shape and is still a workhorse nearly 70 years later.
Why You Should Get Into Sewing
When I got to DePaul, I slowly began to realize the uniqueness of having been brought up in a family strongly tied to a way of life belonging to a now nearly forgotten social landscape forged by a rural American agriculturalist and Protestant Christian identity. I was raised to value one’s ability to become self-sufficient and walk humbly among your fellow humans to be a measure of one’s worth, not how many stocks you owned or whether you had Gucci slapped across every square inch of your body.

Unidentified family members of mine posing by the Marquette monument in Grafton, Ill. (Photo by Anita Lockyer)
I don’t say this to shame anyone who aspires to invest wisely and tout designer wares. I say this to give a taste of what it’s like to be socialized away from a metropolitan center.
The values I was taught come from a now antiquated way of life devoid of mass communication and the suffocating surplus of online shopping. In order to live comfortably, you had no choice but to handcraft and grow your own goods for your consumption.
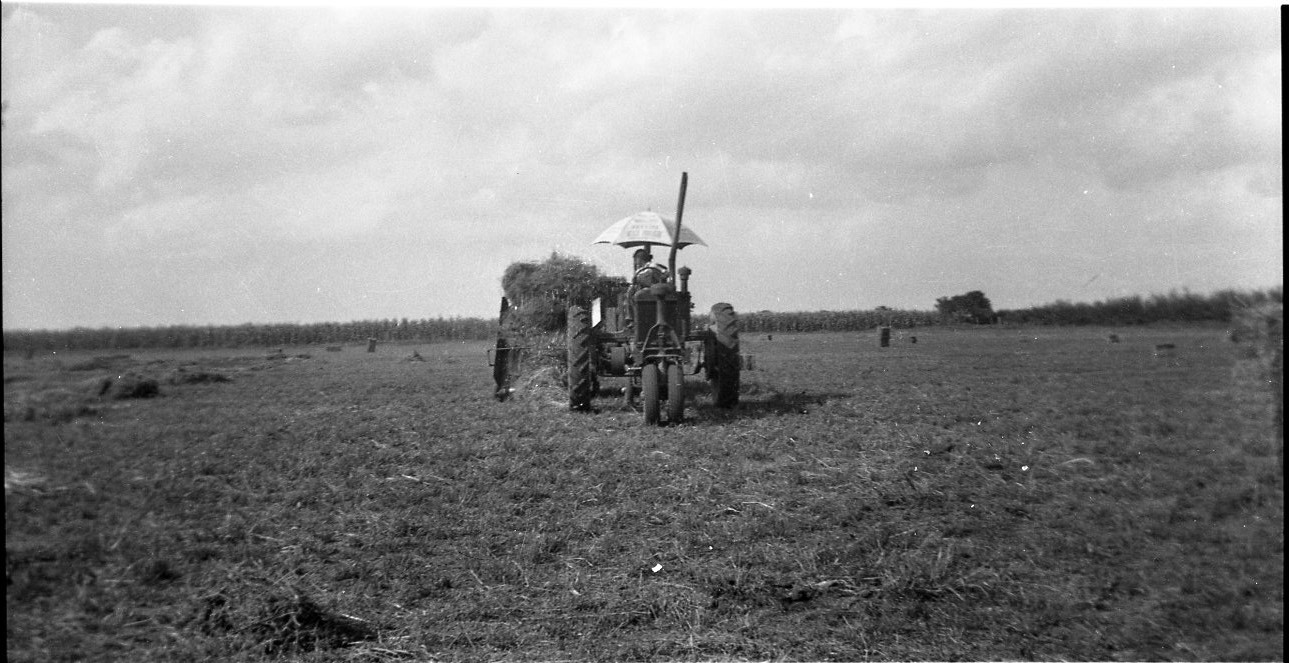
A tractor in a field (Photo by Anita Lockyer)
How then do the act of sewing and the values of this past way of living fit into the urban life of the 21st century?
The synthetic fiber revolution of the latter half of the 20th century brought about the advent of polyester fabrics and thread. It was cheap, versatile and held colors with little fading, but it was completely and utterly plastic.
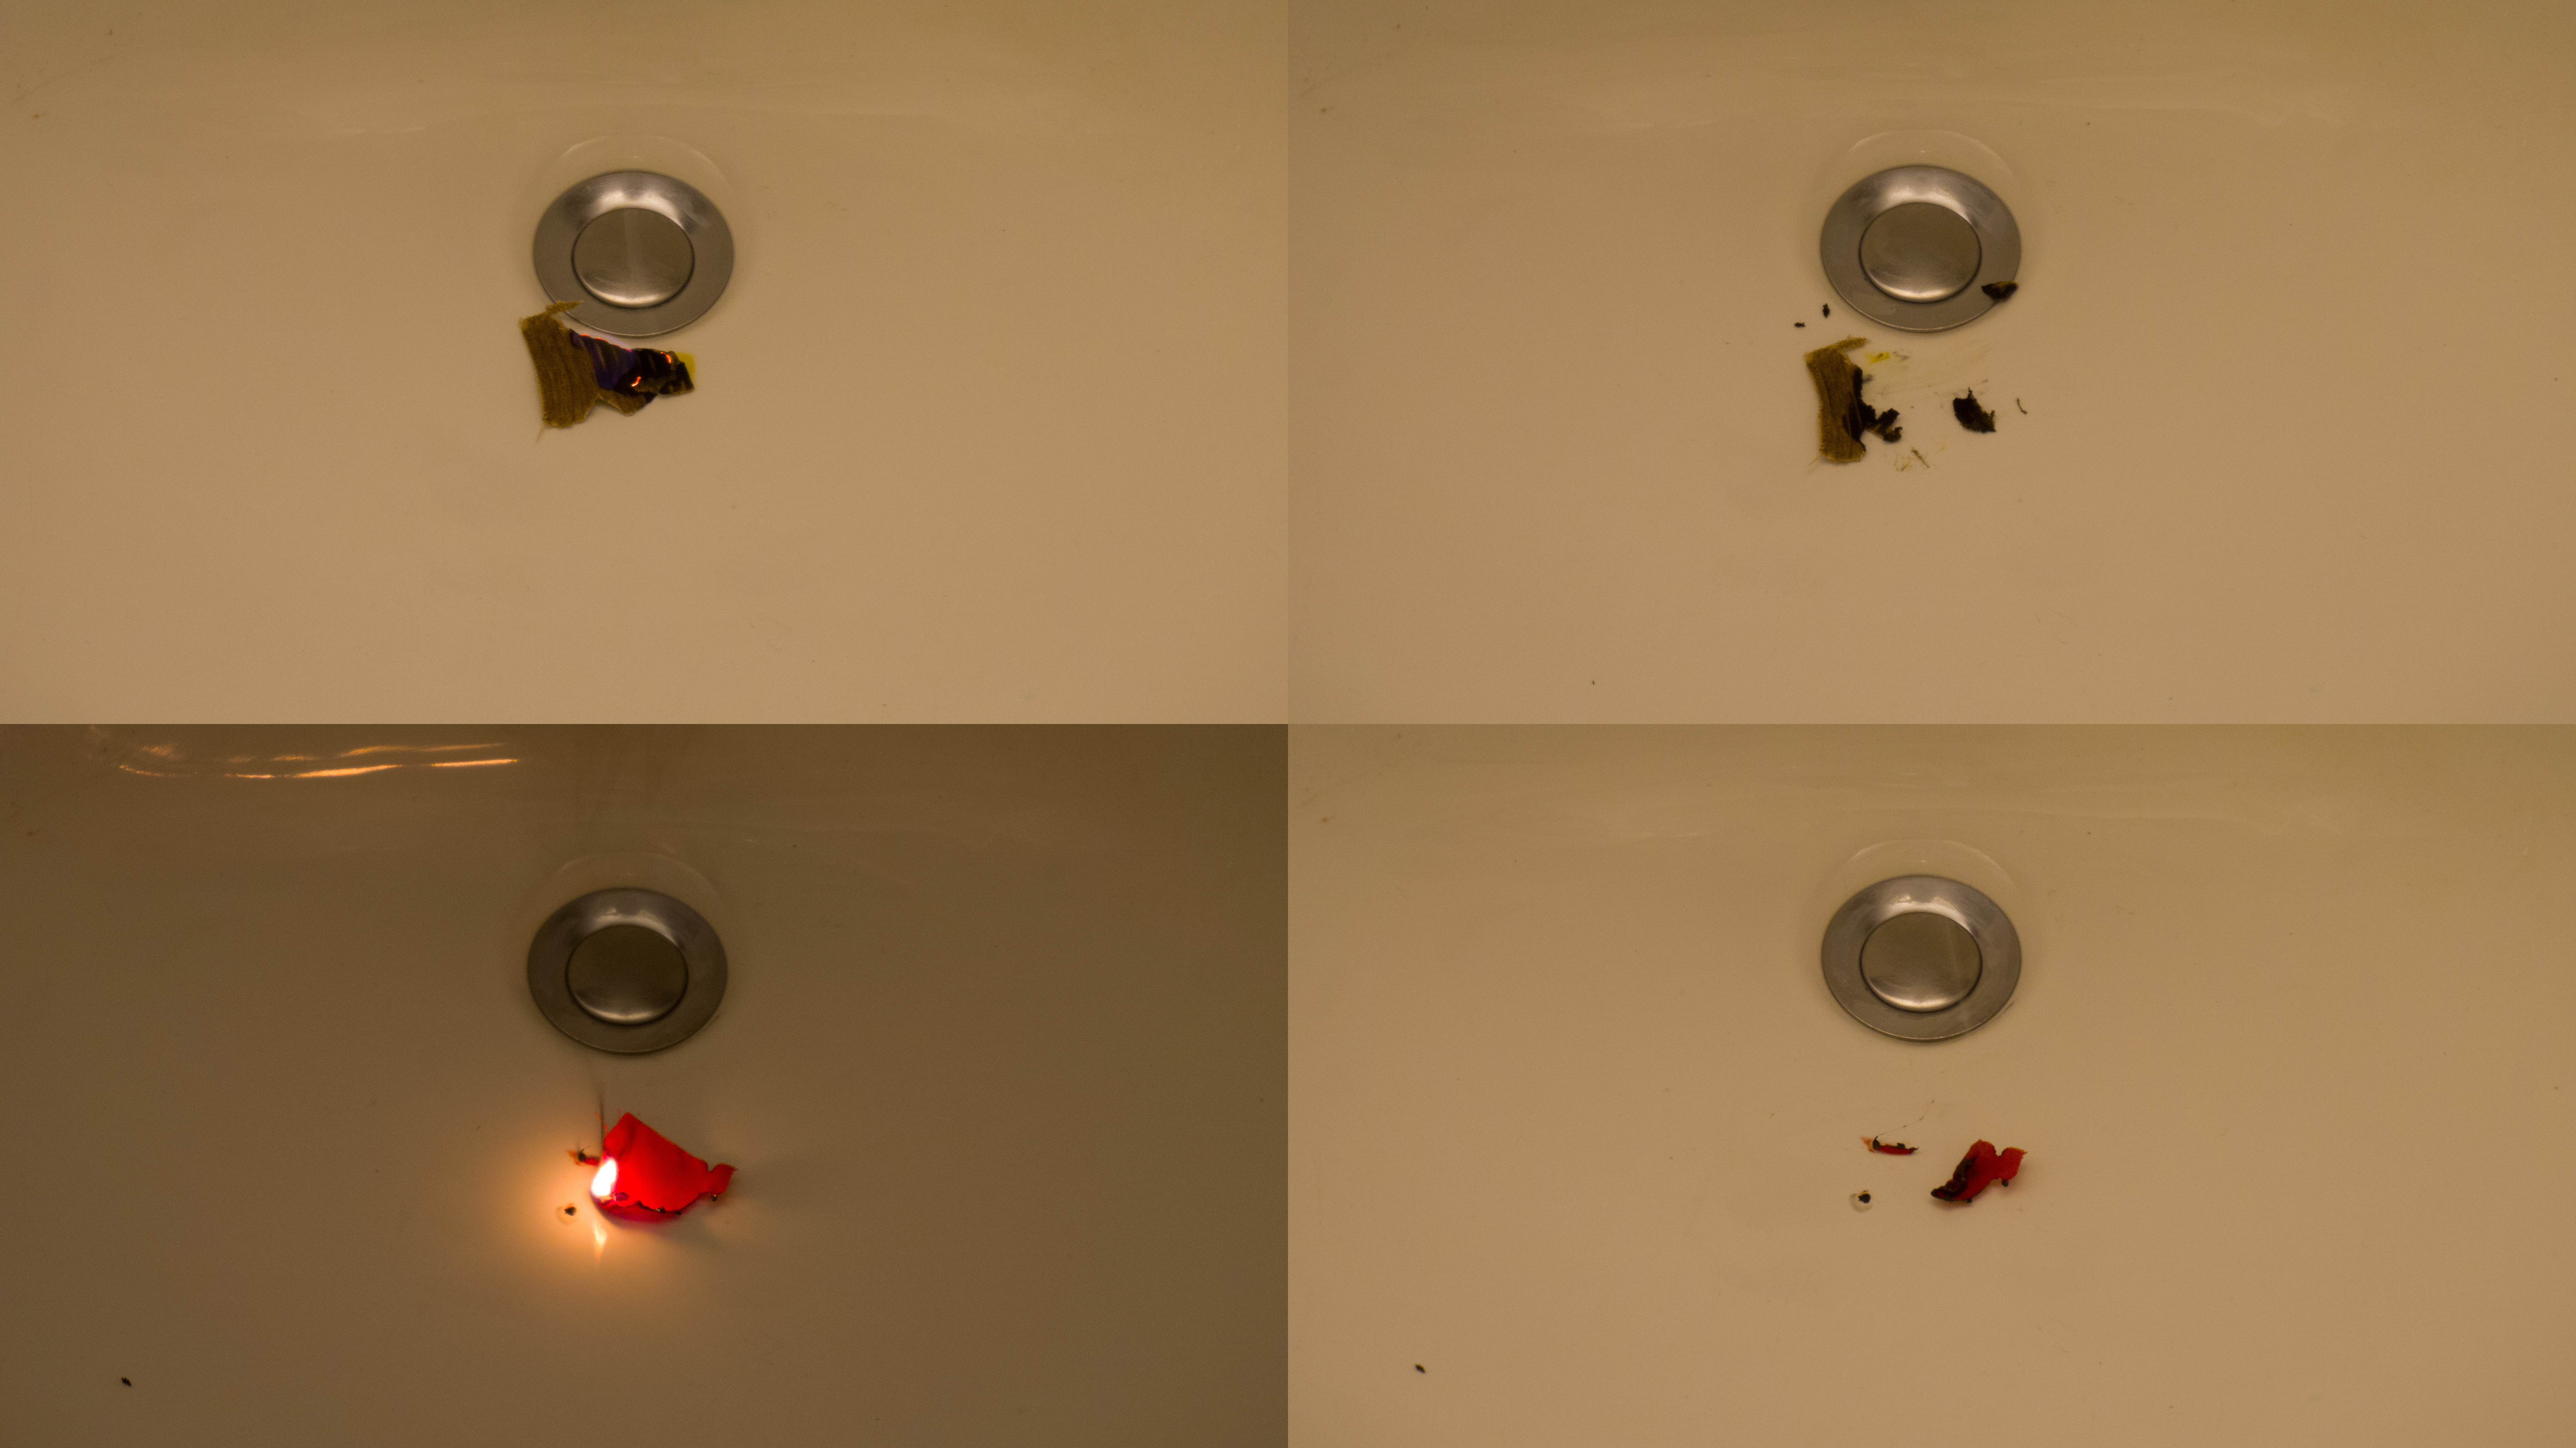
When burnt, cotton disintegrates into ash, while polyester melts into a hard, blackened plastic blob (Photo by Justin Myers, 14 East)
Shown above is a burn test of fabric — the simplest way to tell synthetic fabric from natural. Notice how the synthetic polyester fabric melts into a ball of molten plastic whereas its cotton counterpart burns into ash. Now, take that ball of molten plastic and times that by 14 million tons.
Well, a little less than 14 million. That number is the amount of textile waste discarded by Americans on an annual basis. While many clothing items are manufactured with natural cotton fibers, many more are made entirely or partially out of synthetic plastic counterparts and are no better to toss into the environment than plastic grocery bags.
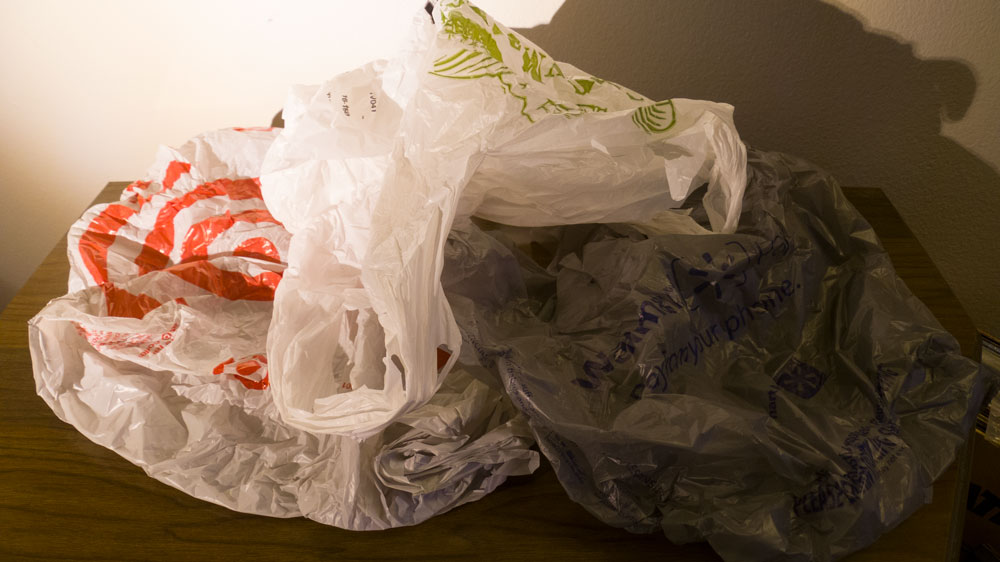
Polyester clothing is no better for the environment than plastic grocery bags (Photo by Justin Myers, 14 East)
The rise of fast fashion has only made the use of synthetic fabrics more prolific as companies attempt to figure out how to cut costs more and more, only creating added environmental harm.
When you tackle your own sewing project, you control every aspect of the process from the choice of fabric, thread, notions and everything in between. Meaning, you have complete control to create a project made entirely out of natural biodegradable materials.
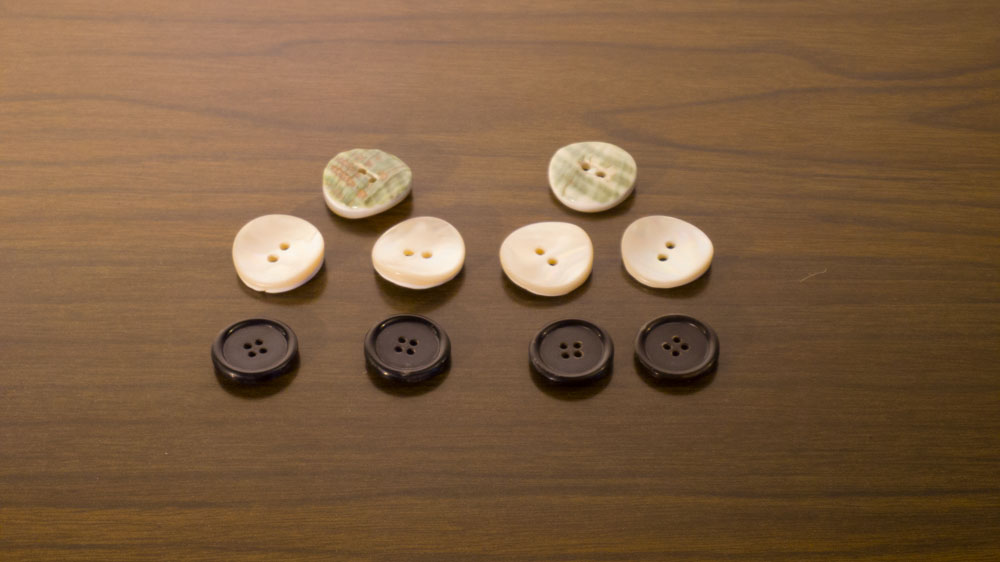
Buttons made of horn or shell are natural alternatives to plastic (Photo by Justin Myers, 14 East)
Thus, in order to fight climate change and have a future in which one can continue to live comfortably, a renaissance of the old art of sewing is an effective way to protect the environment from further plastic waste.
How To Get Started
The first step in sewing is to put your mind over matter. If you have grown up thinking that sewing was a complex skill awarded to only a select few, it is because you have grown up in a society which has crafted that notion to support the fast fashion industry.
Back in the day, sewing transcended boundaries. Department stores like Macy’s contained extensive fabric sections because sewing was viewed in the light of an accessible art practiced by the masses and readymade clothing was a luxury. It wasn’t until the rise of fast fashion brands like Abercrombie at the end of the 20th century and the over-convenience of the commercial readymade clothing industry that this view changed.
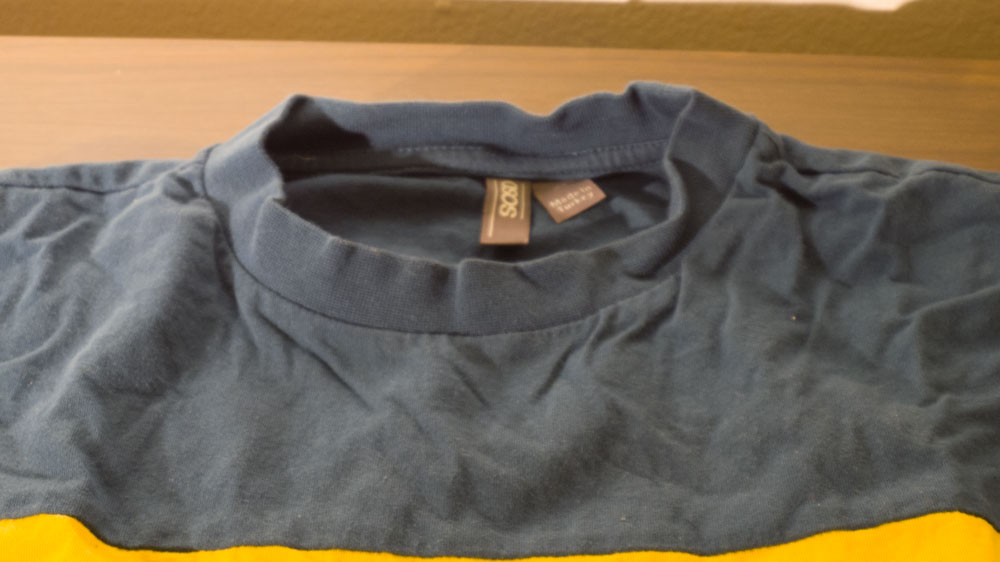
An example of fast fashion clothing (Photo by Justin Myers, 14 East)
It is for this reason that I believe that the viewpoint of sewing as an everyday basic skill has been fairly preserved in the rural expanses of our nation. When it takes 30 minutes to drive to the nearest retail store, you think about making your own goods more.
It is also important to make note that sewing is not an art only respectable for females or gay men to take up. Among communities where the art of sewing is still widespread, it is commonplace for masculine men to sign up for home economics classes and learn the needed skills. One of my more amusing memories in high school was watching my hyper-masculine bro friend Brady try to unashamedly outsmart my homosexual self with his knowledge of the functions of a serger, and I dare say he succeeded in doing so.
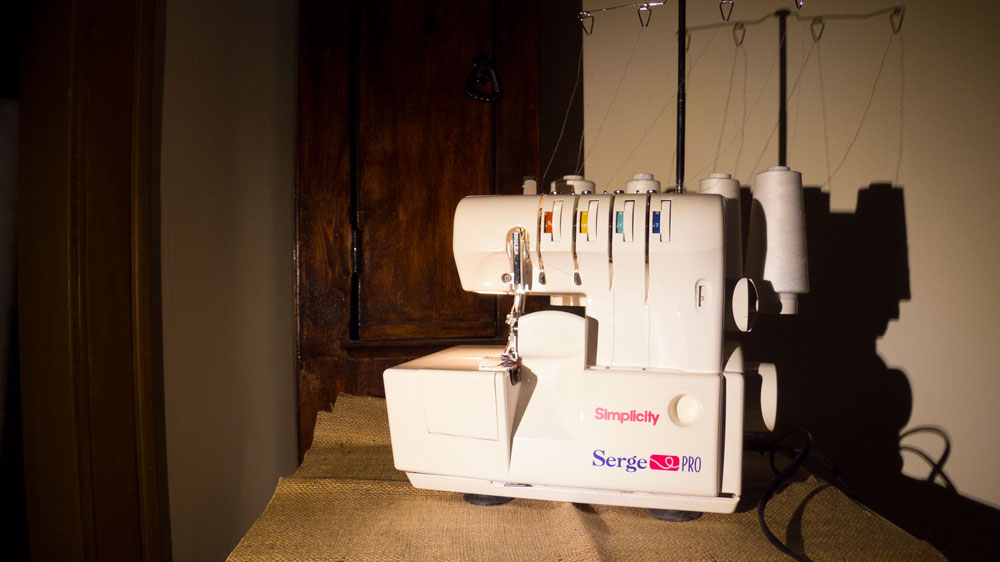
My serger (Photo by Justin Myers, 14 East)
Once you achieve mind over matter, it is time to begin the practice of sewing. You might expect me to direct you to helpful learning materials to start off, but I am not going to do that until later. Sewing is a practical art that is best learned through practice and not theory. Should sewing be attempted through a theoretical lens, one will find themselves overburdened and dumbfounded at its intricacies, producing a discouraging result.
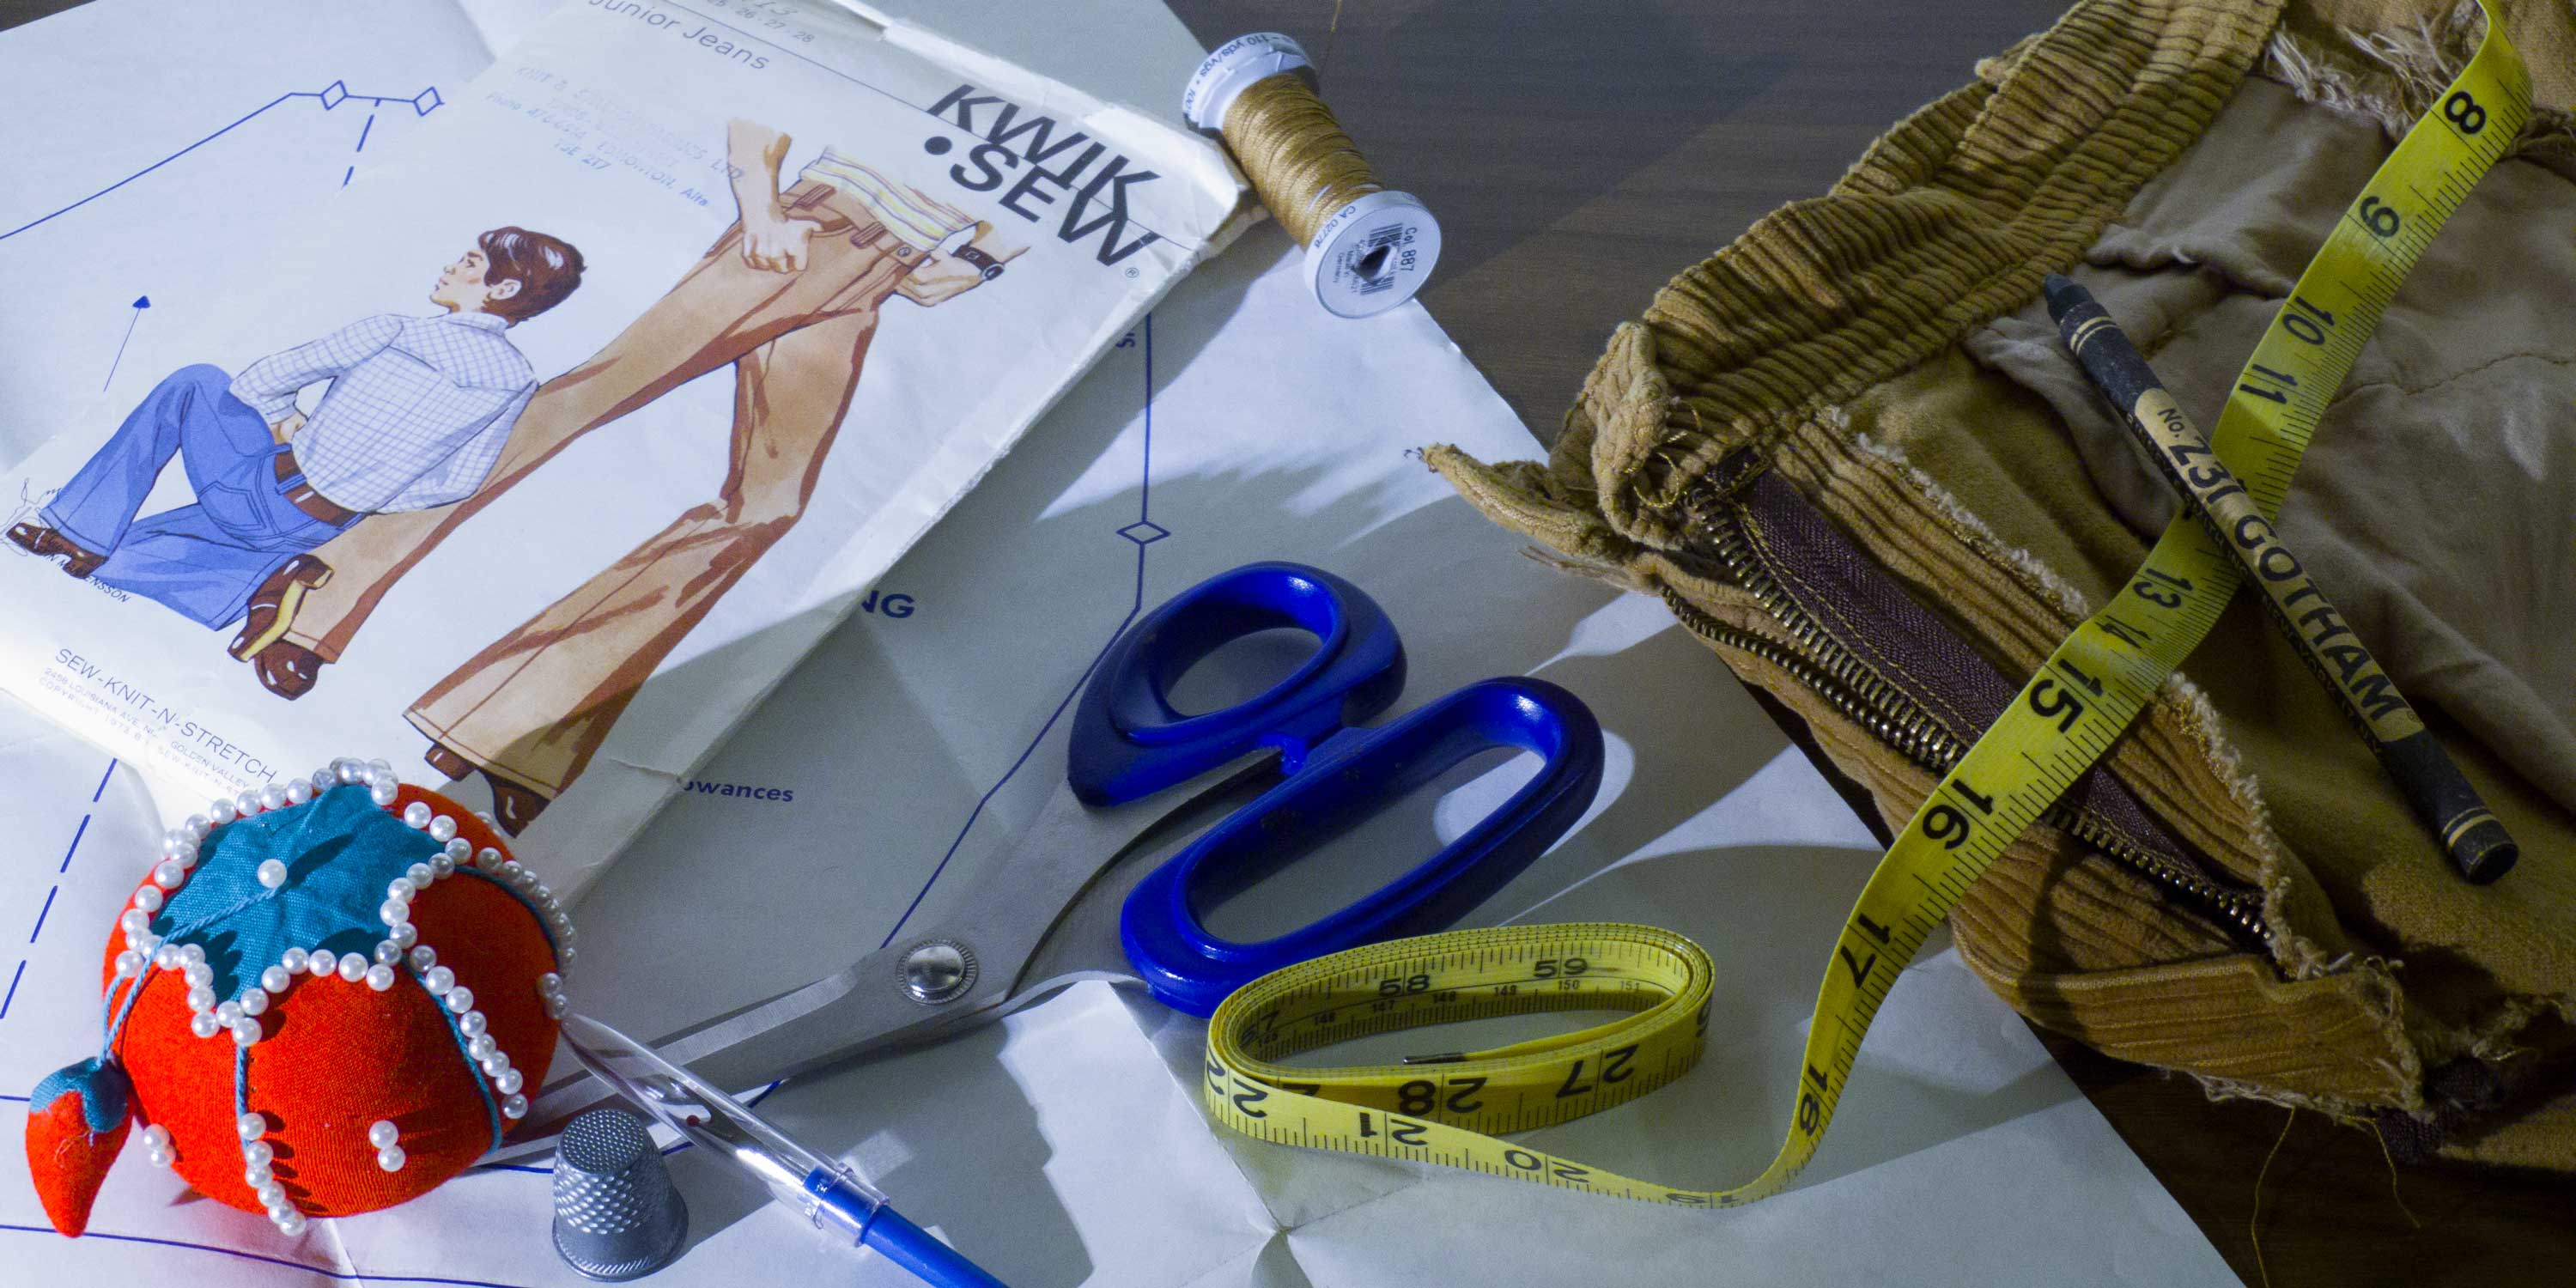
The first step before the acquisition of the theory of sewing is to first assemble the proper arsenal of tools beginning with the sewing basket.

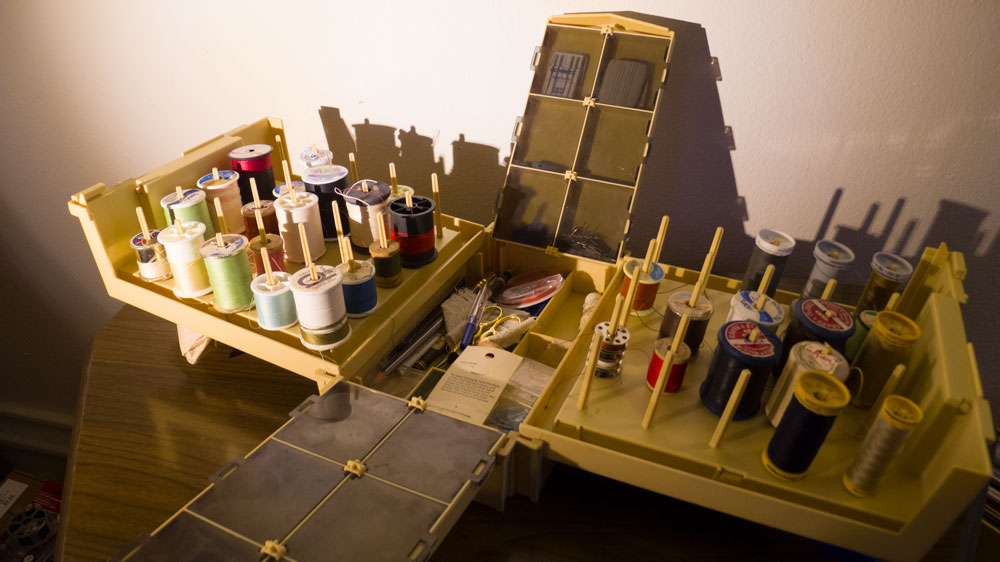
My sewing basket (Photo by Justin Myers, 14 East)
A proper sewing basket with space to hold spools of thread and bobbins is the cornerstone to any sewing venture. The simple container that is the sewing basket itself can be cheaply acquired new or vintage on any number of sites. I bought mine off eBay for $11.
The trick of compiling a sufficient sewing basket is the complicated task of filling it in a world where it seems everyone and their dog is selling yet another sewing gadget aimed at aiding one in sewing. Thus, we begin our discussion on the bare necessities of sewing with the most foundational instrument of them all: the scissors.
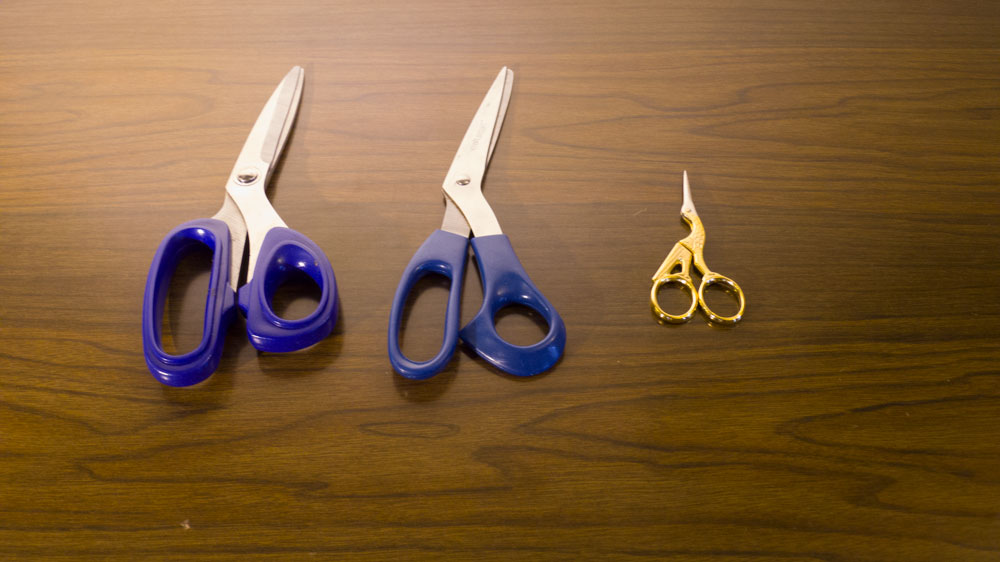
Sewing shears (left), household scissors (middle) and embroidery snips (right) (Photo by Justin Myers, 14 East)
Sewing requires three types of scissors: a pair of sewing shears, a pair of embroidery snips and a standard pair of everyday scissors. The scissors allow for the cutting of fabric and patterns, which occurs before all other steps.
Make sure to only use each pair of scissors for their intended purposes. Sewing shears are extra sharp scissors worth their cost used to effortlessly cut through fabric but dull very quickly if used on paper. Embroidery snips are small and inadequate to use on anything but the delicate snipping of threads during the process, which they excel at. The everyday scissors save the sewing shears from dulling and allow for the cutting of patterns.
Next comes the needles, thimble, seam ripper and measuring tape.

Needles, thimble, seam ripper and measuring tape (Photo by Justin Myers, 14 East)
Don’t overthink the needles. Brands like Singer sell variety packs of multiple needles, and that is all you will need when starting out. When it comes to the thimble, make sure that you can find a size online or in the store that fits comfortably on the middle finger of your dominant hand without slipping off at ease. Any cheap basic seam ripper will do and is a godsend when needing to correct mistakes made during the sewing process.
Ensure that you are using a standard tailor’s measuring tape. This is a long, non-elastic cloth-like length of smooth fiberglass material used to measure waists and other various lengths with ease. Wooden rulers or metal carpenter’s measuring tapes are not suitable for the sewing process due to their rigidity.
We move on now to the pins.
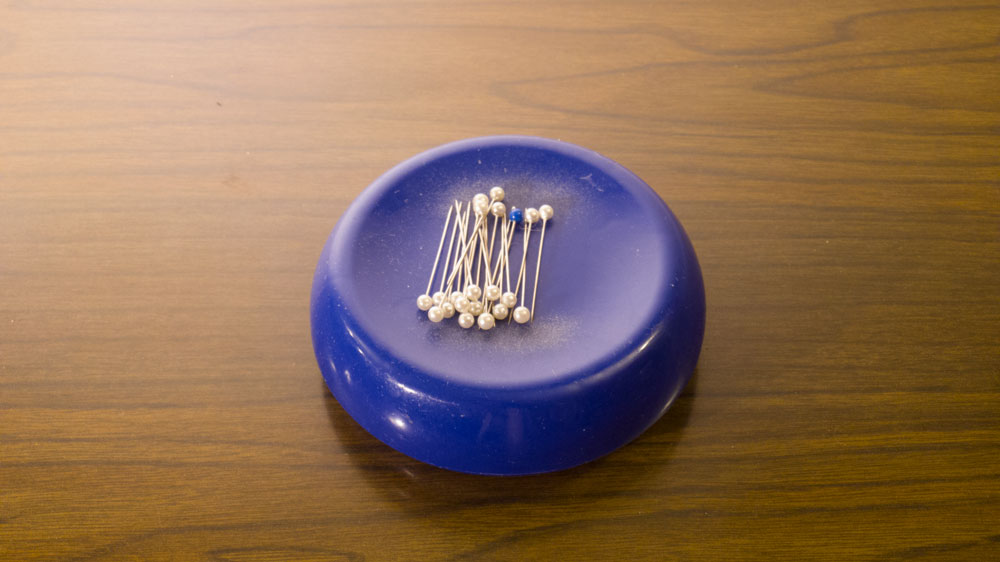
A collection of pins (Photo by Justin Myers, 14 East)
Pins are available in packs of a handful to a few hundred. Make sure you get glass or plastic tipped pins. Pins marketed as “T-pins” or “dressmaker’s/tailor’s pins” are used for specialty reasons and are not suitable for most sewing endeavors.
For the pincushion, don’t go crazy. The quintessential pincushion is a tomato with a small strawberry tied to it, a hearken back to the days when actual tomatoes were used as pincushions.
Go with the quintessential pincushion and know how to use it. The tomato is used to hold pins and needles, and the strawberry contains emery, a substance that sharpens pins and needles if you show the tip of them through it a few times.
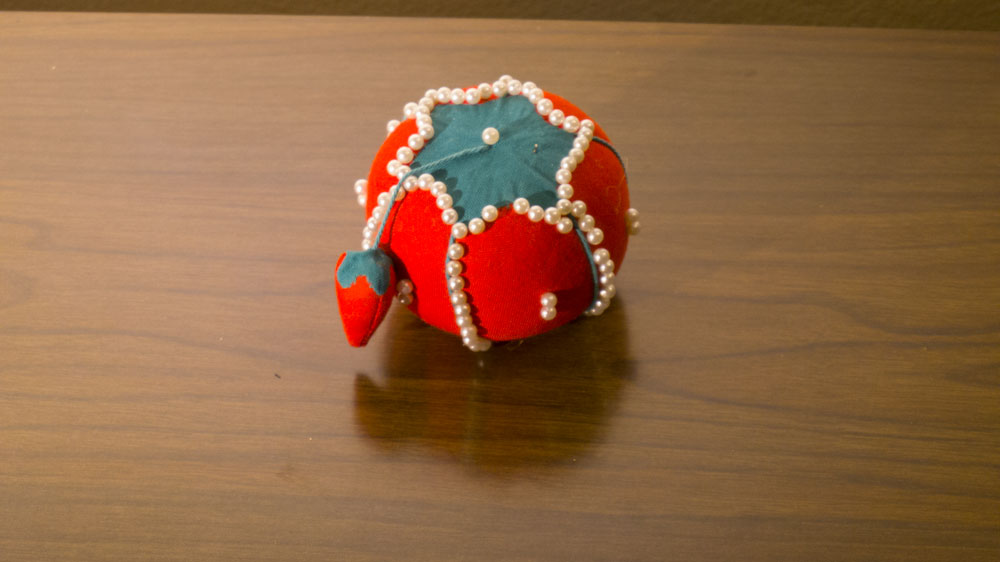
A traditional tomato and strawberry pincushion (Photo by Justin Myers)
Several companies offer starter sewing kits with many of the supplies listed. For beginners, it is recommended to take advantage of these to fulfill at least part of the needs for one’s sewing basket, as the bundled deal can reduce the total cost of the items.
A properly fitted sewing basket will cost around $30 at the most basic level and most components of it will last a lifetime. Over time, pins and needles may become bent due to general wear and tear, but scissors, thimbles, pincushions and measuring tapes will last a lifetime if not horrendously abused.
A well-stocked sewing basket (Photo by Justin Myers, 14 East)
It is possible to hand sew everything, and many who adhere to this philosophy can hand sew projects just as fast as others can machine sew them. However, most find the use of a machine to be the most convenient method.
The machine I use is the Singer 221 (also known as the Singer Featherweight) that was given to me by my grandma. While it will be used to demonstrate the sewing process in this article, I do not recommend it for beginners. It is an all-metal powerhouse that outcompetes any modern machine with plastic components, but it has a cult following and goes for $450-$500 in today’s market — far beyond what most beginners or college students are willing to pay.
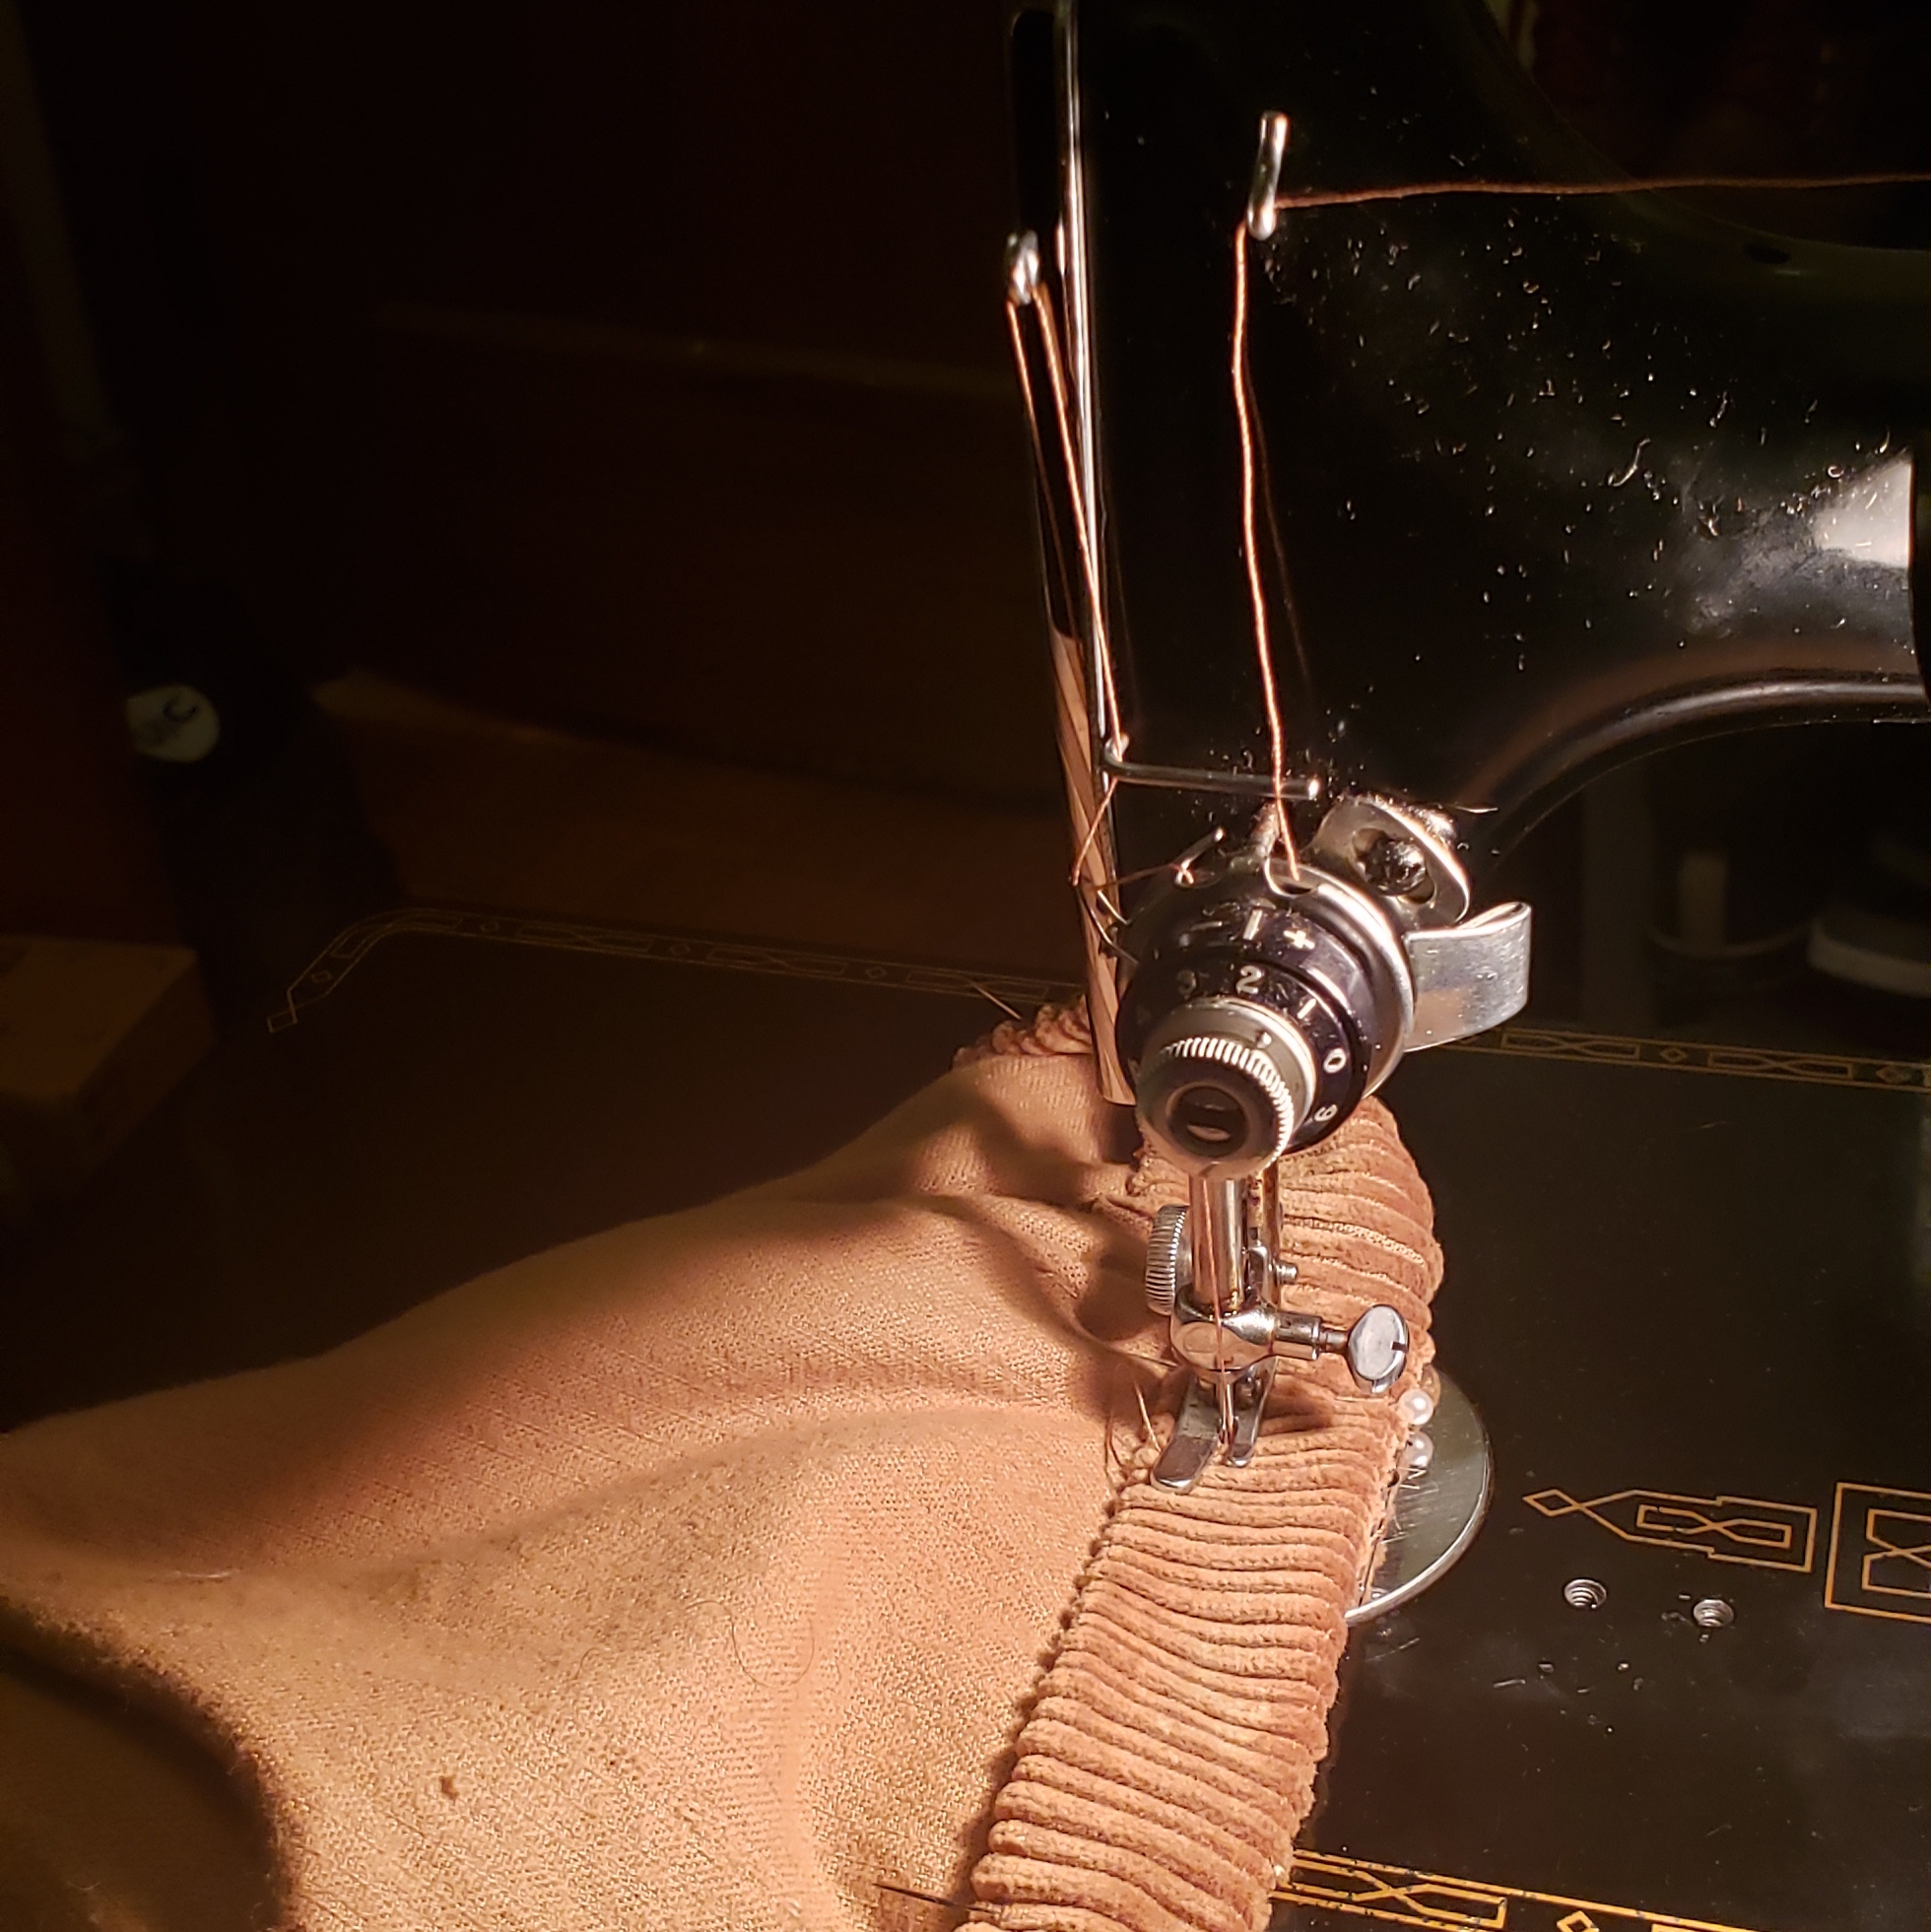
My sewing machine at work (Photo by Justin Myers, 14 East)
Opt instead for any number of basic sewing machines found online or at your local sewing supplies store, which you can easily get for around $50.
When searching for a machine, there are just three capabilities to look for: a straight stitch capability, a zigzag stitch capability and a buttonhole capability. For beginner- and moderate-level sewing, this is all that is needed.
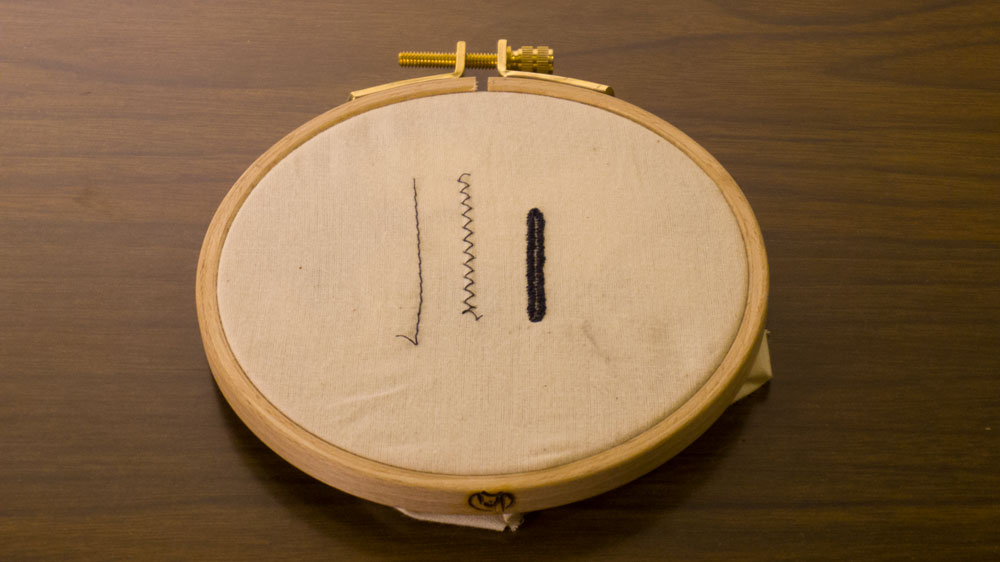
The three essential stitch functions of a sewing machine: straight stitch (left), zigzag stich (middle) and buttonhole stitch (right) (Photo by Justin Myers, 14 East)
Next, find a pattern.
All patterns are not created equal. In my experience, patterns from the 1970s are the easiest to follow. I have found that patterns before that tend to be overcomplicated with their instructions as well as hem, structuring and waistlines that have faded out of modern existence. Patterns after that time lean towards oversimplification with steps and processes omitted for the sake of “streamlining,” which ultimately creates an inferiorly crafted garment.
For those starting out, a quick web search for your size and “1970s sewing pattern” should pull up several options to choose from. Some patterns offer several different projects to choose from and are a good way to get the most for your money.
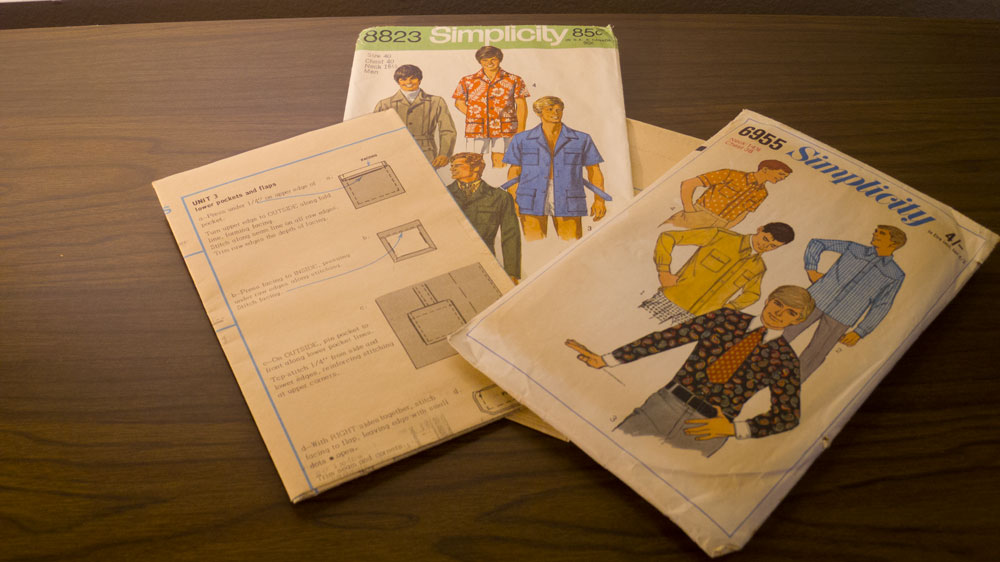
A collection of sewing patterns (Photo by Justin Myers)
On the back of the pattern, you will find the requirements for the amount of fabric and the quantity and types of notions needed. Notions are things such as buttons, thread and zippers.
These instructions should say the type of fabric needed. Stick to these recommendations and don’t attempt to cut corners by buying a type not listed because it is advertised as being cheaper. Each type of fabric has its ideal applications, and it is safest for the beginner to stick to what is recommended.
As Chicago has very few fabric stores, I buy most of my fabric online. I prefer Mood Fabrics due to their selection and quality control. However, I have bought from many other sites found by a simple Google search for the type of fabric I needed and received more than satisfactory results. If desiring natural fibers, make sure to check the listing for the fiber content, which should be listed somewhere in the description. Also keep in mind that fabric in sewing is listed on patterns and sold by the yard and measures 55” wide on average.

A collection of natural fabrics: homespun cotton from Jubilee Fabric (left), silk-linen blend by Oscar de la Renta from Mood Fabrics (center) and heavyweight linen from Big Duck Canvas (right) (Photo by Justin Myers, 14 East)
When it comes to notions, things like natural horn and shell buttons can be used as natural substitutes to plastic. With thread, cotton may be used, but be cautious.
Most cotton thread sold is intended for quilting or shirt making — anything where the seams won’t be put under too much stress. This is due to the weight of the thread. A quilting weight thread is labeled as “60 wt,” but that is too weak for garments whose seams are put under high stress, such as pants. For those high-stress projects, if using cotton, opt for a heavier weight thread such as “40 wt” or heavier (the lower the number the heavier).
If you want to play it safe, polyester thread is an option that I regularly employ. Good cotton thread is tricky to find and expensive. While it may not be entirely eco-friendly, its use with natural fabric at least minimizes the amount of synthetic material being used to just the thread, which takes up very little cubic volume.
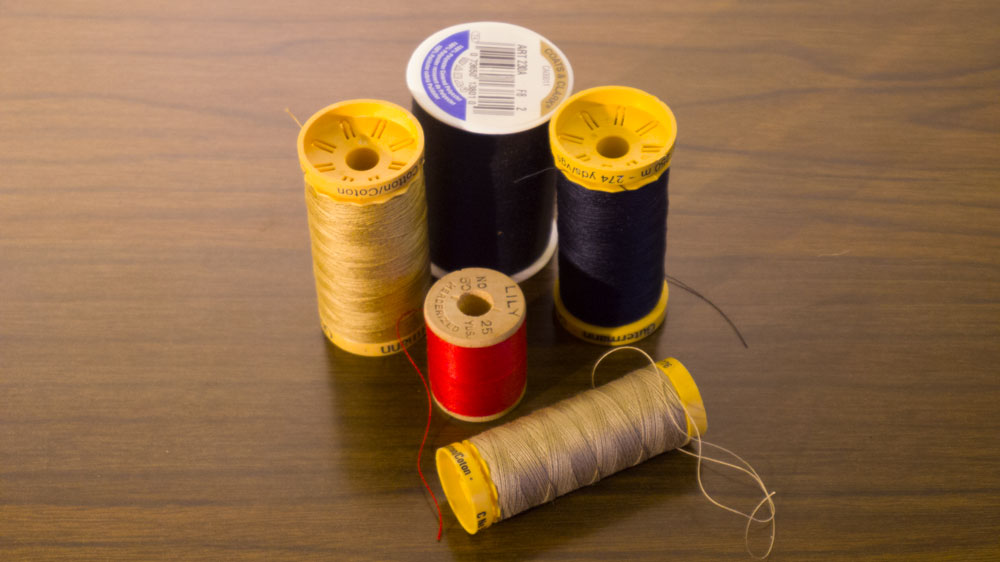
A collection of natural and synthetic thread (Photo by Justin Myers, 14 East)
After purchasing your sewing basket, machine, pattern, fabric and notions, I suggest picking up a sewing theory book. Your pattern will explain a lot, but it won’t explain everything. When it comes to sewing things like collars, sleeves and ruffles, a good sewing theory book will offer detailed step by step instructions.
Make sure, though, it is a physical book. Online instructions aren’t always the most accurate or practical, and many sites offering them will try to charge you big bucks for their instructions. They are good for quick reference but not to rely on.
I suggest “The Art of Sewing: The Classic Techniques” by Time Life books. It is a bit dated but provides excellent instructions and can be found online for less than $5. Other books are available in the Time Life series for those interested in further information.
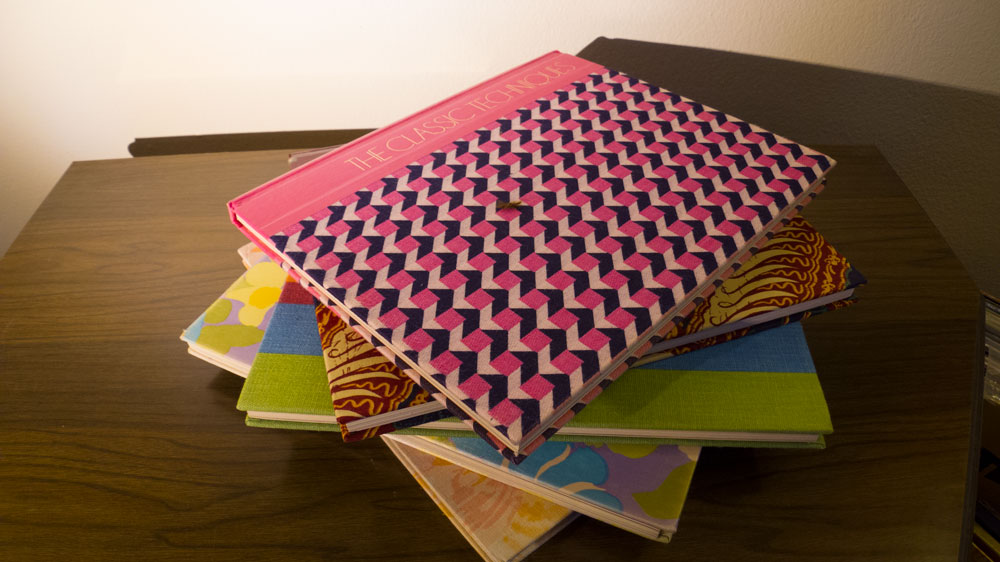
Selections from the Time Life “Art of Sewing” book series (Photo by Justin Myers, 14 East)
Don’t try to read everything in the sewing book at once because you will be overwhelmed. Consult it step by step as you follow the pattern.
Consult it when you go to cut the fabric, consult it when you go to finish the seams, consult it anytime you don’t understand a term (never assume a definition) and so on and so forth. In this way, you will avoid time-consuming mistakes.
Should you ever make a mistake during the process, know that there are very few mistakes which cannot be undone in sewing. Rip up the seam, patch on a piece of cloth — whatever the solution, most mistakes are reversible.
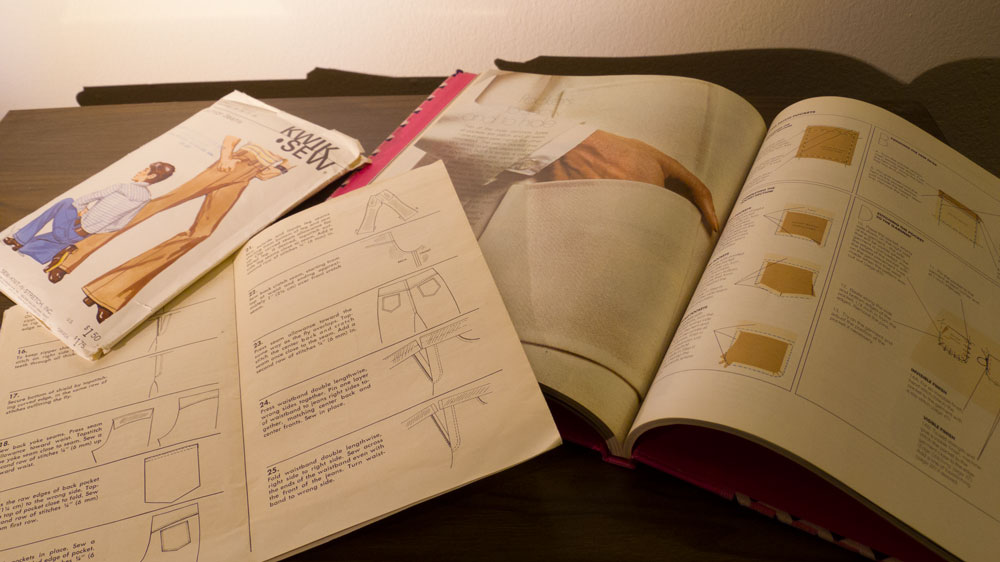
Following instructions for sewing (Photo by Justin Myers, 14 East)
Keep pushing and pushing yourself and follow the instructions included in the pattern. Make sure to keep your bobbins wound and machine oiled following the user’s manual. Trust in yourself and stop seeing sewing as an elitist novelty.
Don’t expect to read this article and go into sewing with full confidence. It is only through physical practice that self-assurance and skill can be built in sewing, so go out and do it.
Header image by Justin Myers, 14 East
DePaul Students Make Their Own Clothing, Accessories at the IRL – Fourteen East
14 February
[…] pants, DePaulians are not afraid to test the waters of fashion. Some students even make or alter their own clothing. Though tailoring clothing, creating costumes and making jewelry often require specific machinery […]